How to Toast Coconut
There is quite a difference in flavour and texture between regular and toasted coconut flakes. Both are good, but they are quite different. I like coconut flakes, straight out of the package for things like no bake granola bars as they give them a nice chewiness. Toasted coconut is nice in baking as it adds an almost buttery flavour that is so rich and sweet.
It couldn’t be easier to prepare. Got 10 minutes? That’s all you need to toast a batch of coconut, start to finish. Let’s do this!
So the important kitchen tool I’m referring to in the header of this post is an oven thermometer. Have you ever followed a recipe to the letter only to burn the cookies on the bottom? You could have sworn the recipe said 15 minutes! Well, hopefully this tool puts a stop to wasted ingredients and burned goodies. Every oven is different and having a thermometer hanging on one of your racks is a good way to gauge how hot your oven really is. Mine definitely runs hot. Visit Stir Kitchen Store if you live in Burlington and hook yourself up.

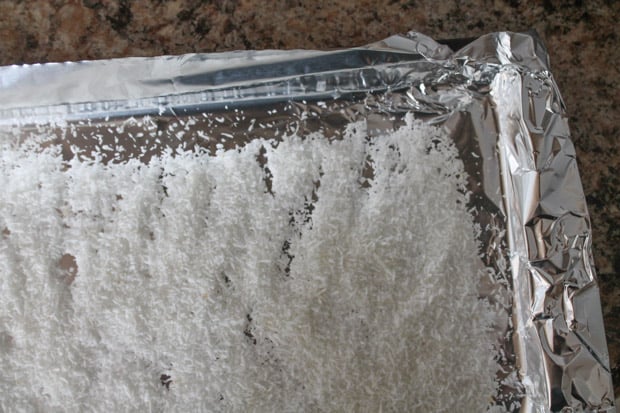
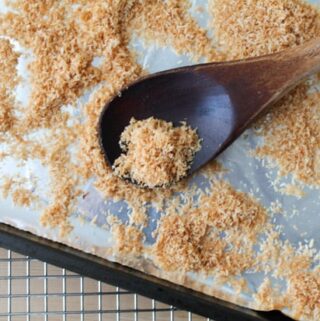
OK! Back to the coconut. It’s sooo easy. Spread out a nice thin layer on a foil lined baking sheet.
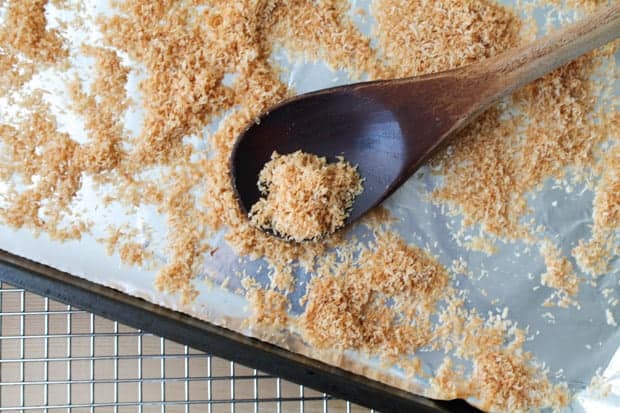
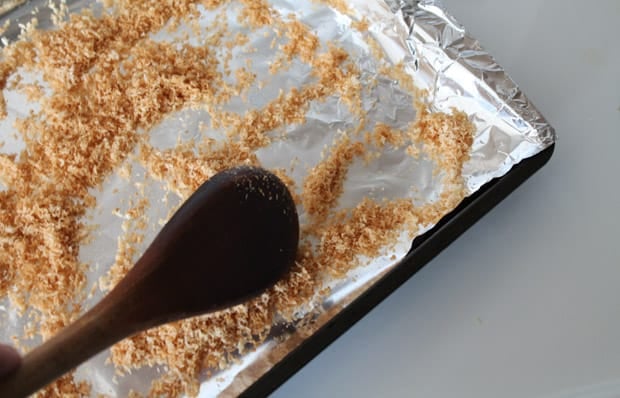
I baked mine for five minutes, stirring after minutes three and four, ensuring no burning was going on.
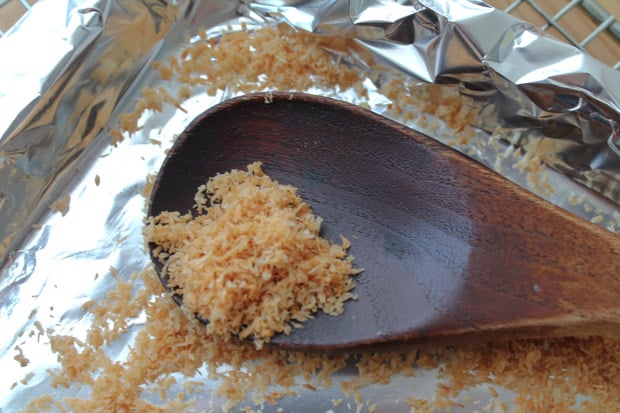
And that’s it people 🙂 Let it cool for five minutes or so and store in an airtight container.
Your reward is a great topping for your hot oat bran cereal. I leave the container right on the counter next to the stove and it gets sprinkled right onto my breakfast bowl. You could add it into any baking that calls for coconut or even top a curry dish with it. The possibilities are endless. It’s too easy not to try. Break out those bags of coconut and get toasting!
As an Amazon Associate I earn from qualifying purchases.
Want to Save This Recipe?
Just enter your email and get it sent to your inbox! Plus you’ll get new recipes from us every week.
By submitting this form, you consent to receive emails from The Honour System
Toasted Coconut How To + An Important Kitchen Tool
Ingredients
Instructions
- Preheat oven to 425
- Line a baking sheet with tin foil and spread coconut flakes evenly on the baking sheet
- Place sheet in oven for 5 minutes, stirring after minutes 3 and 4. Watch carefully as these will burn quickly!
- Let cool for 5 minutes and store in a covered glass container
I know Sergio Ramos!!! =) Congrats to him on his first child!!! He is been on fire for the last two weeks on the pitch!!! )) And thank you for the recipe!!
Do you really know Sergio Ramos?! Like know him? There really is no more beautiful human than Sergio Ramos. Can’t wait to see his son grow up! 🙂
I don’t think I’ve ever tried toasting unsweetened coconut flakes before, only the sweetened kind. I cook with the unsweetened kind pretty often so it’s good to know that toasting adds a little extra oomph. I’ll definitely be giving it a try!
I like the tip for the thermometer too. I’m pretty sure my oven runs cold as nothing ever burns in the suggested cooking time.
My oven is hotter than Justin Bieber! He’s hot, right? I prefer Sergio Ramos myself but no one knows who he is … Spanish soccer player = hot. Google him. What were we talking about again??