Vitamix Whipped Cream
This Vitamix whipped cream recipe is a simple how-to that leads to a perfectly rich and creamy result every time. Follow these easy tips and tricks for success. If you’ve wondered, can you make whipped cream in a Vitamix? The answer is a resounding yes!
As an Amazon Associate, I earn from qualifying purchases.
I always advocate for making your own stuff whenever possible, and this homemade whipped cream (made in my sparkling new Vitamix blender – yay me!) is a perfect example. For more great DIY recipes, try this homemade soy-free soy sauce and this super simple strawberry chia jam, which is excellent for thumbprint cookies.
Why you will love this recipe
Making whipped cream in a Vitamix could not be easier or faster. Add your ingredients to the blender and thirty seconds later, you have whipped cream. The quick time means less air gets whipped into the cream, making it thick and rich. Boom.
This recipe has far fewer ingredients (all of which you can easily pronounce) and is of a much fresher quality than from a spray can.
This is a naturally gluten-free recipe. Bonus!
Ingredients
Find the complete ingredient list, with measurements, in the recipe card below.
Heavy Whipping Cream – Only full-fat, legit whipping cream for this recipe, and make sure it is ice cold for the light, cloud-like texture you are looking for.
Vanilla – Add a touch of pure vanilla extract for that subtle, cozy sweetness.
Powdered Sugar – Use powdered sugar so it dissolves quickly and doesn’t leave a grainy texture. You don’t want crunchy whipped cream. I actually make my own powdered sugar in my Vitamix, too! Blend granulated sugar for 10 seconds or so, and you will have your own powdered sugar.
Cornstarch – I use a bit in this recipe because I make my own powdered sugar. Generally, the powdered sugar you buy in the store has cornstarch added to keep it from clumping. Adding cornstarch to the whipped cream helps it stay stable, preventing it from deflating as soon as you serve it. It also allows it to last a tad longer in the fridge.

Equipment
High-Powered Blender – AKA you need a Vitamix for this recipe. Hence the name Vitamix whipped cream. It is the Cadillac of blenders.

- Ten variable speeds allow you to blend the smoothest smoothies.
- BPA Free.
Instructions
Scroll to the recipe card at the bottom for the FULL recipe details.
Step 1
First, and most important, is to make sure your cream is cold. The colder the better, so it doesn’t collapse on you.
Expert Tip!
Pop your Vitamix container in the freezer for 5-10 minutes before you make your whipped cream. This helps to keep the cream super cold, making it light and fluffy instead of soupy.
Step 2
Next, add the cold cream to the chilled blender container, followed by the remaining ingredients.
Step 3
Then, place the lid on tightly and start your blender. Start on the lowest speed for 2-3 seconds to incorporate the ingredients, then turn it up to the highest speed.
Step 4
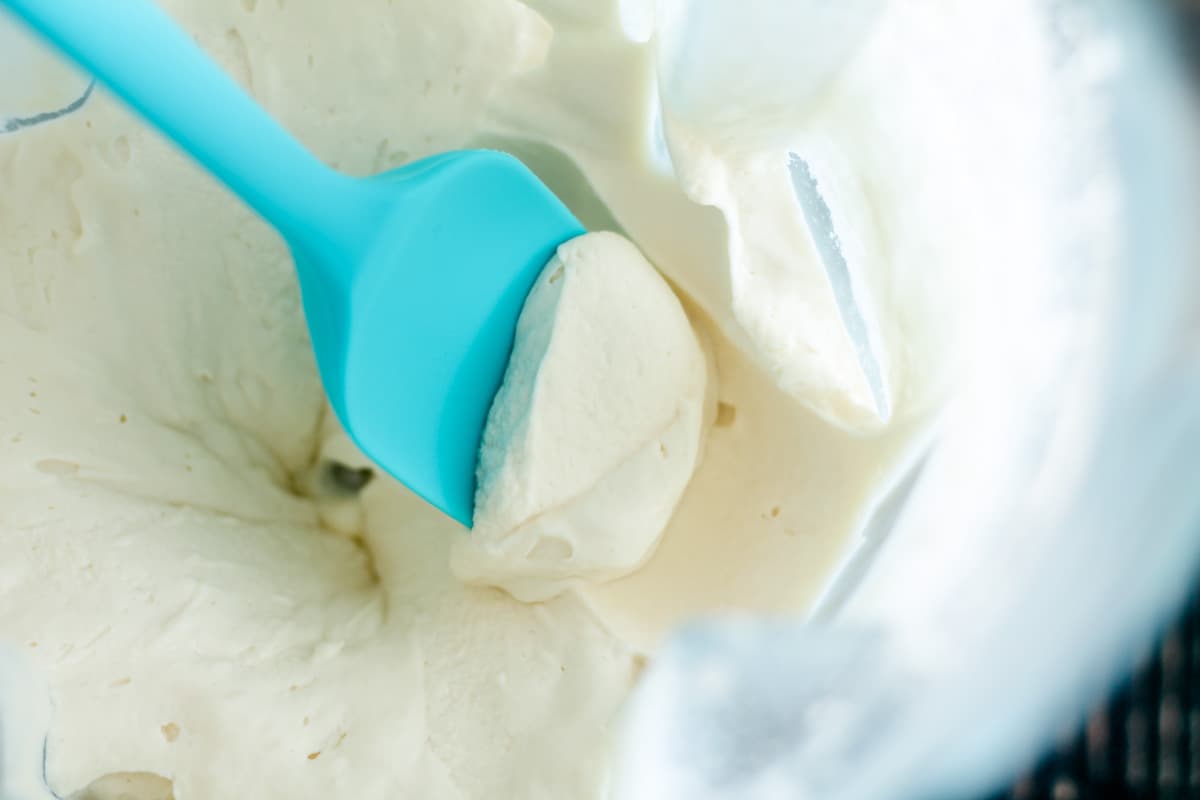
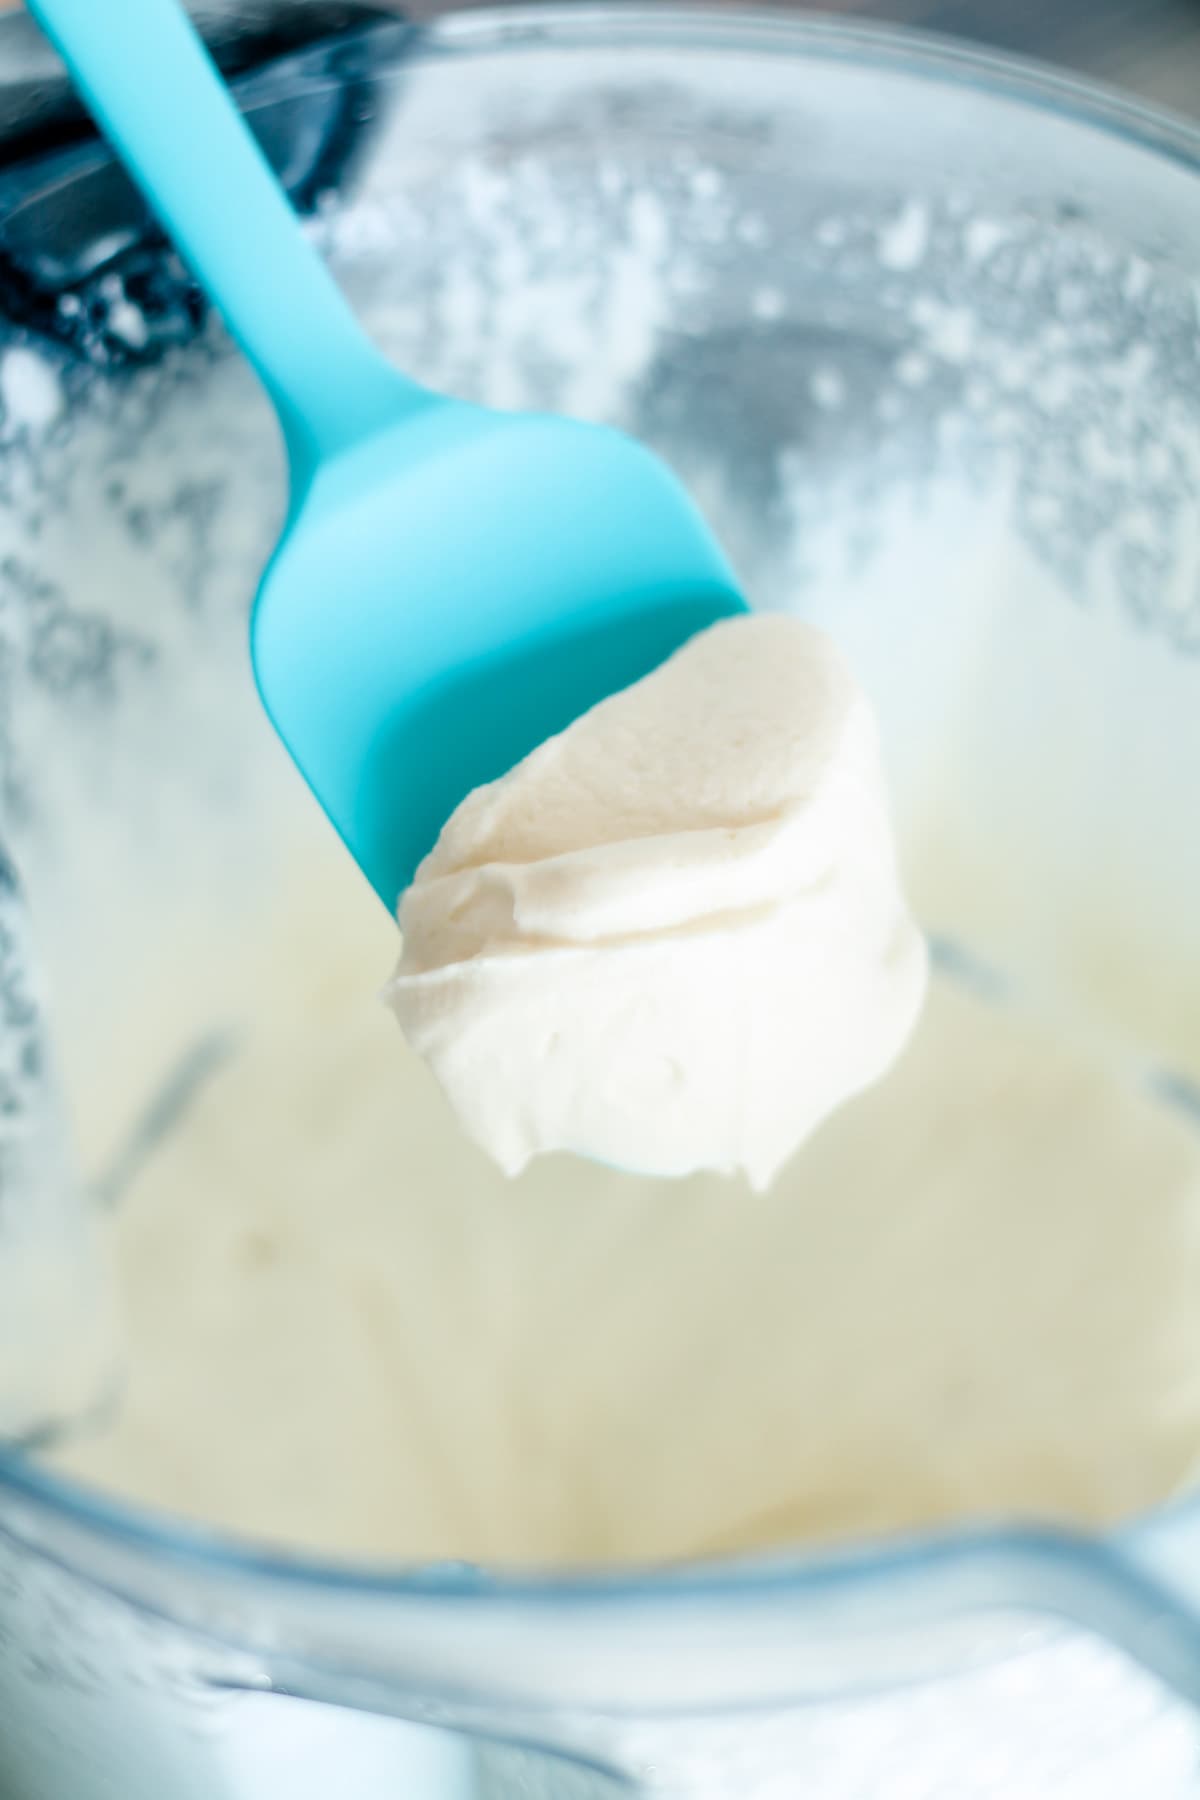
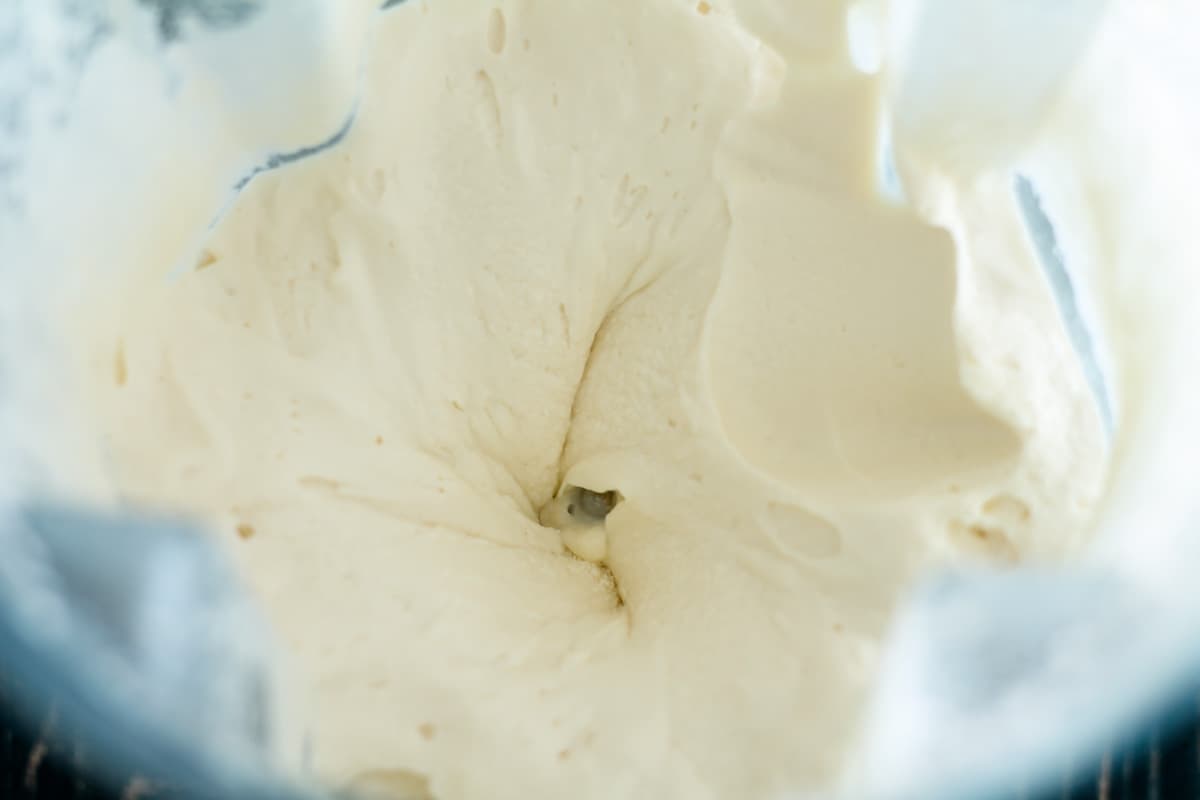
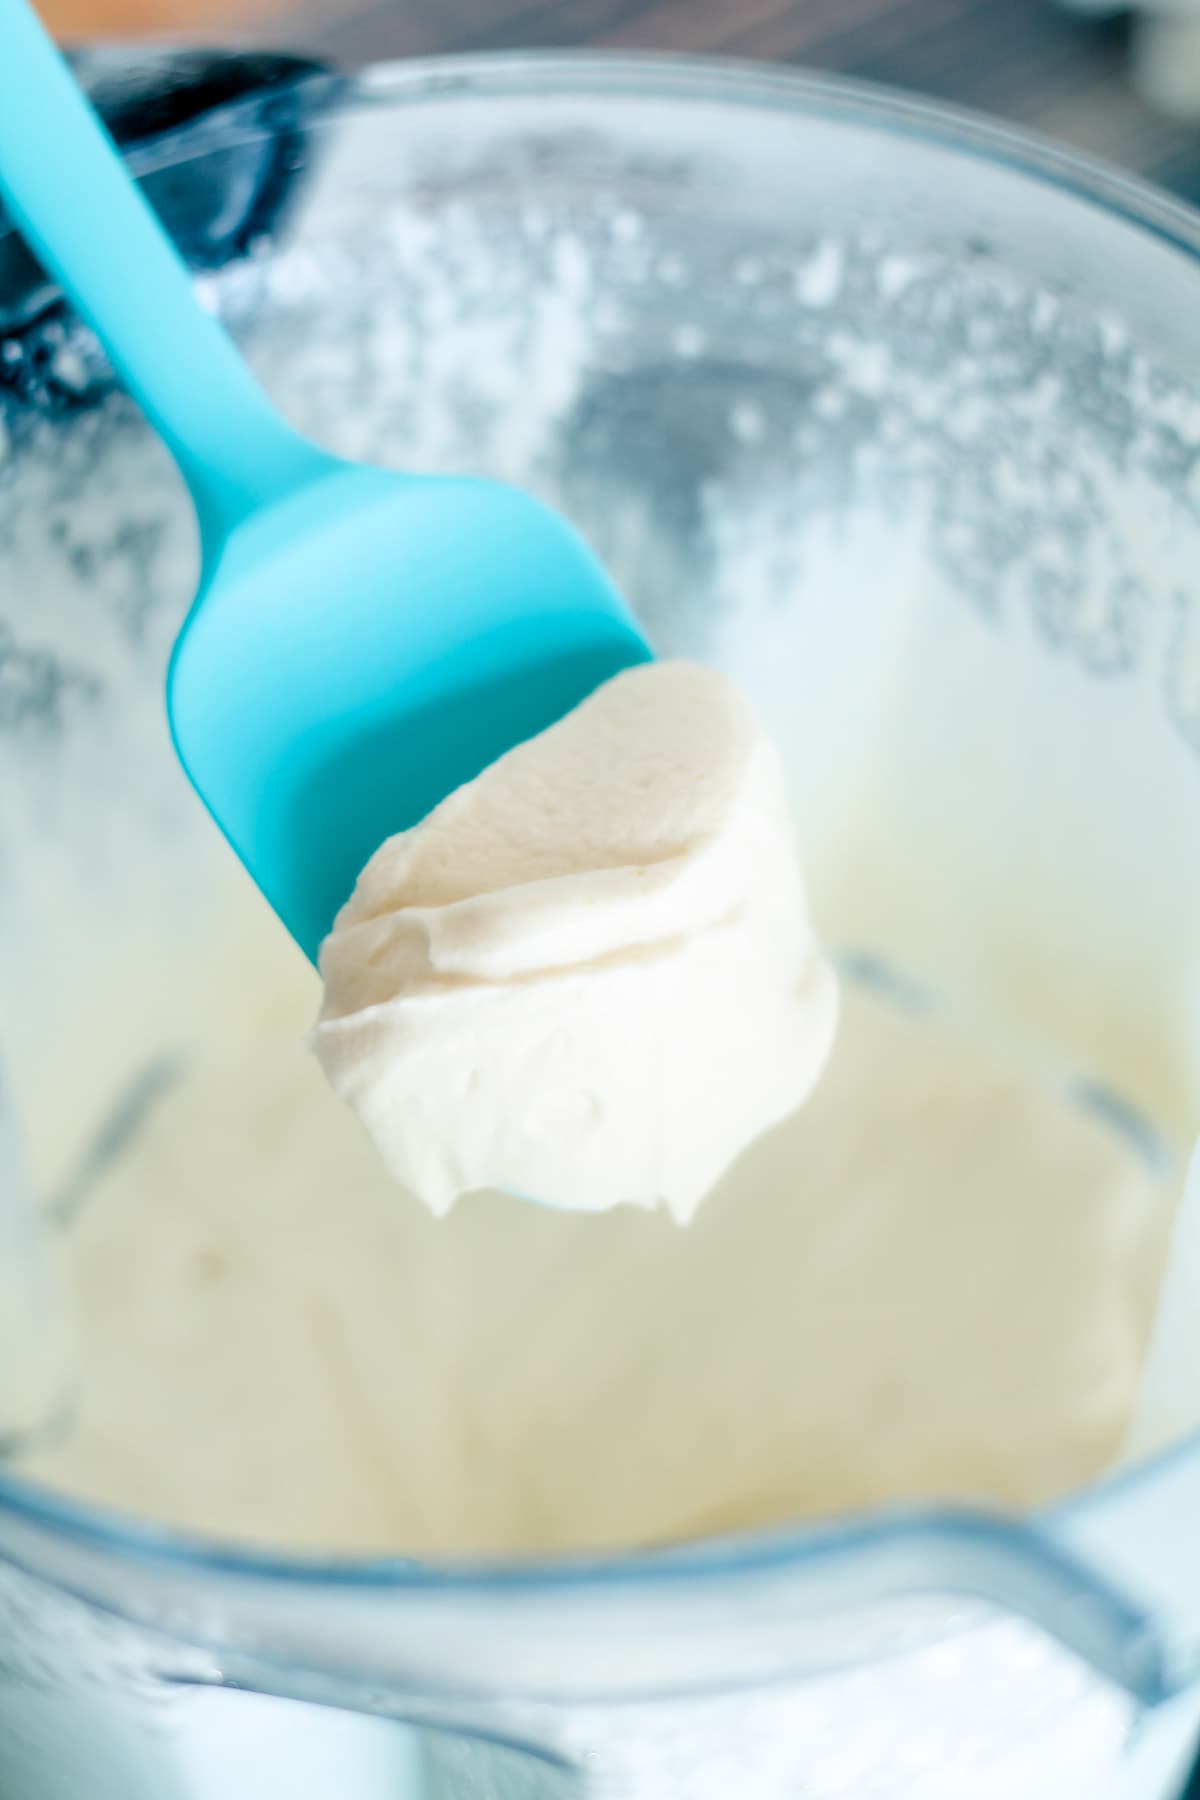
Blend on high for 5-15 seconds. I like stiff peaks, so 15 seconds is perfect for me. You can check the consistency in 5-second intervals for your desired peaks.
Step 5
Serve immediately. Transfer any leftovers immediately to a container and pop it right into the fridge. I have a pre-chilled glass container ready to go, which will help keep it from melting.
Substitutions and recipe variations
To make this recipe a touch healthier, you can use maple syrup instead of the powdered sugar as a natural sweetener. It will add a golden color to the cream, and it won’t be pure white, but it will still taste lovely.
For another healthy swap, use powdered coconut sugar. You can make it in the Vitamix just as you would with granulated sugar.
Serving suggestions
We love this freshly whipped cream with our healthy coffee cake and a mug of warm maple almond milk.
Use it to top a cozy cup of hot chocolate. We have a great DIY hot chocolate mix. Check it out!
FAQS
Don’t overblend the cream, or it will get clumpy and turn into butter. Be sure to check in intervals to ensure it isn’t overblended.
It is best served fresh, but will last up to a day longer in the fridge.
Storage tips
To Store: This cream will keep in a chilled, covered glass container in the refrigerator for up to 1 day. We don’t recommend freezing.
More how-to recipes


If you’ve tried this whipped cream made in a blender, please give me a rating and let me know how it turned out by leaving me a comment below. I’m always interested in feedback!
Be sure to follow me on social media! I love pinning to Pinterest, sharing on Facebook, and posting pics on Instagram. See you there. 🙂
Want to Save This Recipe?
Just enter your email and get it sent to your inbox! Plus you’ll get new recipes from us every week.
By submitting this form, you consent to receive emails from The Honour System

Vitamix Whipped Cream
Ingredients
- 1 cup whipping cream chilled
- 3 tbsp powdered sugar
- ½ tsp pure vanilla
- ½ tsp cornstarch Omit if using store-bought powdered sugar, which already contains it.
Instructions
- Be sure that your cream is very cold. Pop the blender container in the freezer for 15 minutes to chill that too.
- Add the cold cream to the chilled blender container, followed by the remaining ingredients.
- Place the lid on firmly and start your blender. Keep it on low for 2-3 seconds to incorporate the ingredients, then turn it up to the max.
- Blend on high for 5-15 seconds. I like stiff peaks, so 15 seconds is perfect for me. You can check the consistency in 5-second intervals for your desired peaks. Don't overblend, or it will turn into clumpy butter.
- Serve immediately.