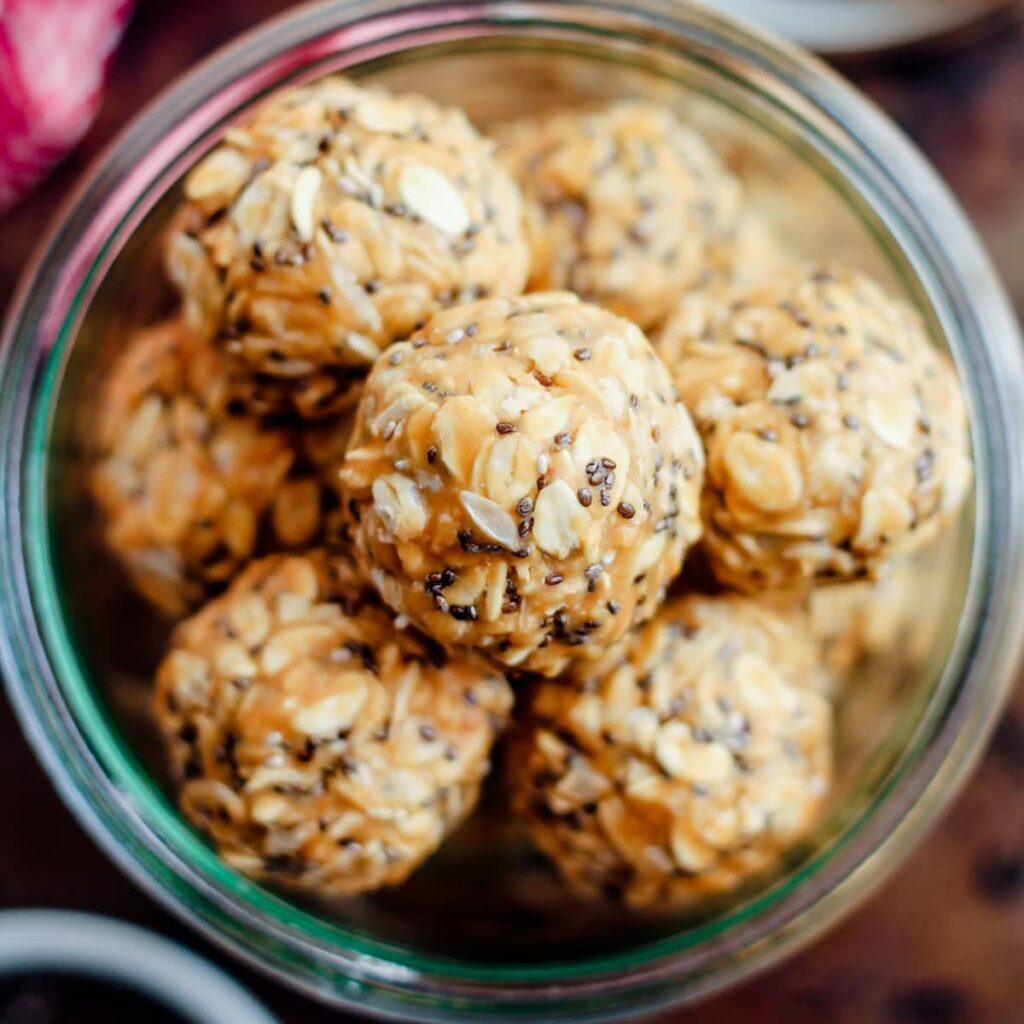
Peanut Butter Protein Balls
With only three healthy ingredients, this peanut butter protein balls recipe is the easiest thing you will do all day. With a soft cookie dough texture and taste, it is perfect for quick snacks or even a wholesome dessert.
As an Amazon Associate, I earn from qualifying purchases
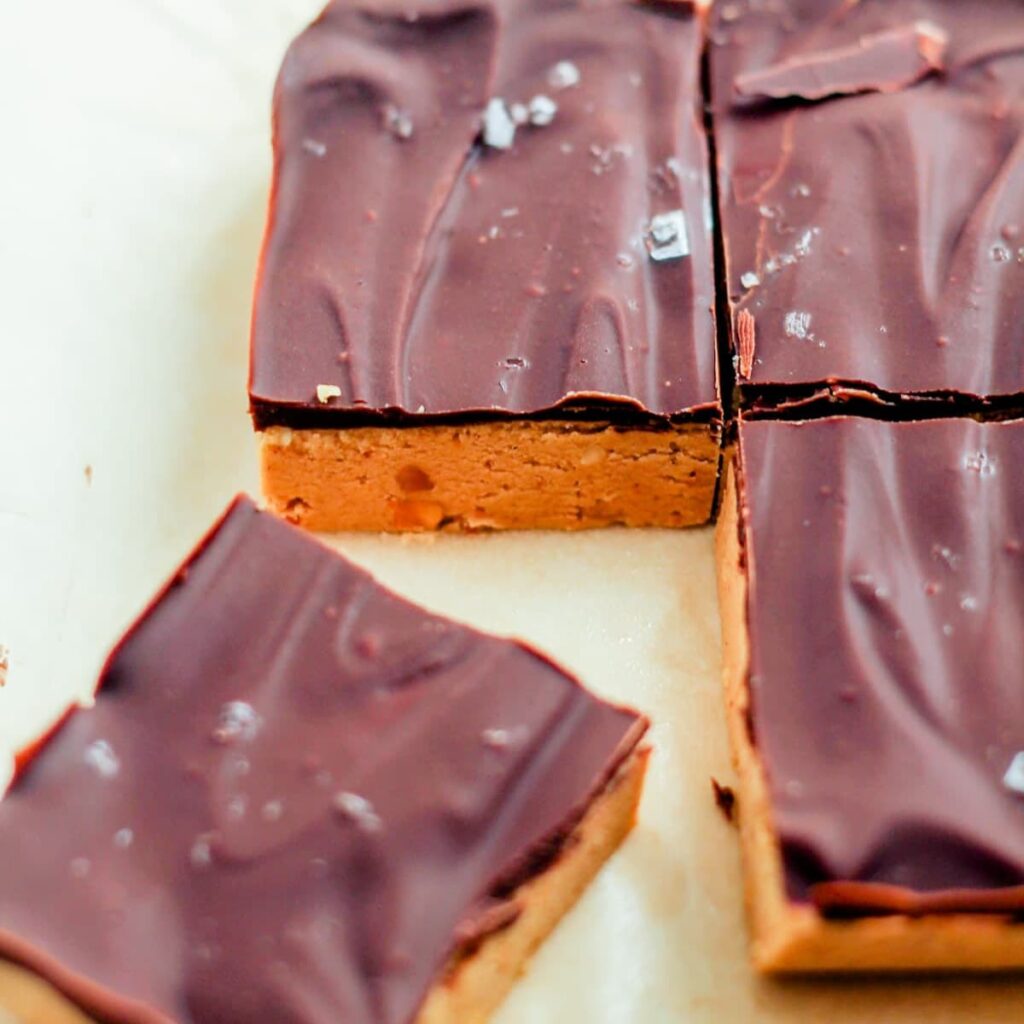
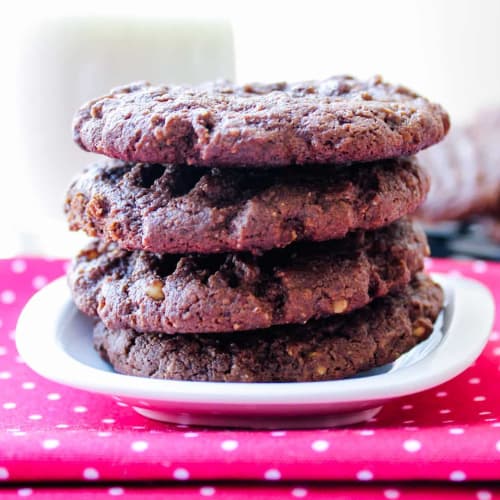
Energy bites are my JAM. Besides this recipe for protein balls with peanut butter, we also can’t get enough of these Protein Cookie Dough Balls and this Chocolate Chia Balls recipe. For more inspiration, check out all of our Healthy Snack Recipes.
Why you will love this recipe
It is super simple. These no-bake energy bites are ready in less than five minutes of prep work.
No fancy equipment is necessary for these protein peanut butter balls. No food processor, just a bowl and spoon.
This recipe has no oats and is naturally vegan and gluten-free. Bonus!
Ingredient notes
Find the complete ingredient list, with measurements, in the recipe card below.
- Vanilla Protein Powder – We recommend using Ora So Lean So Clean for these peanut butter protein balls with protein powder. This is our tried-and-true product, and it works great in energy ball recipes. Also, the ingredient list is plant-based and contains no toxic ingredients.
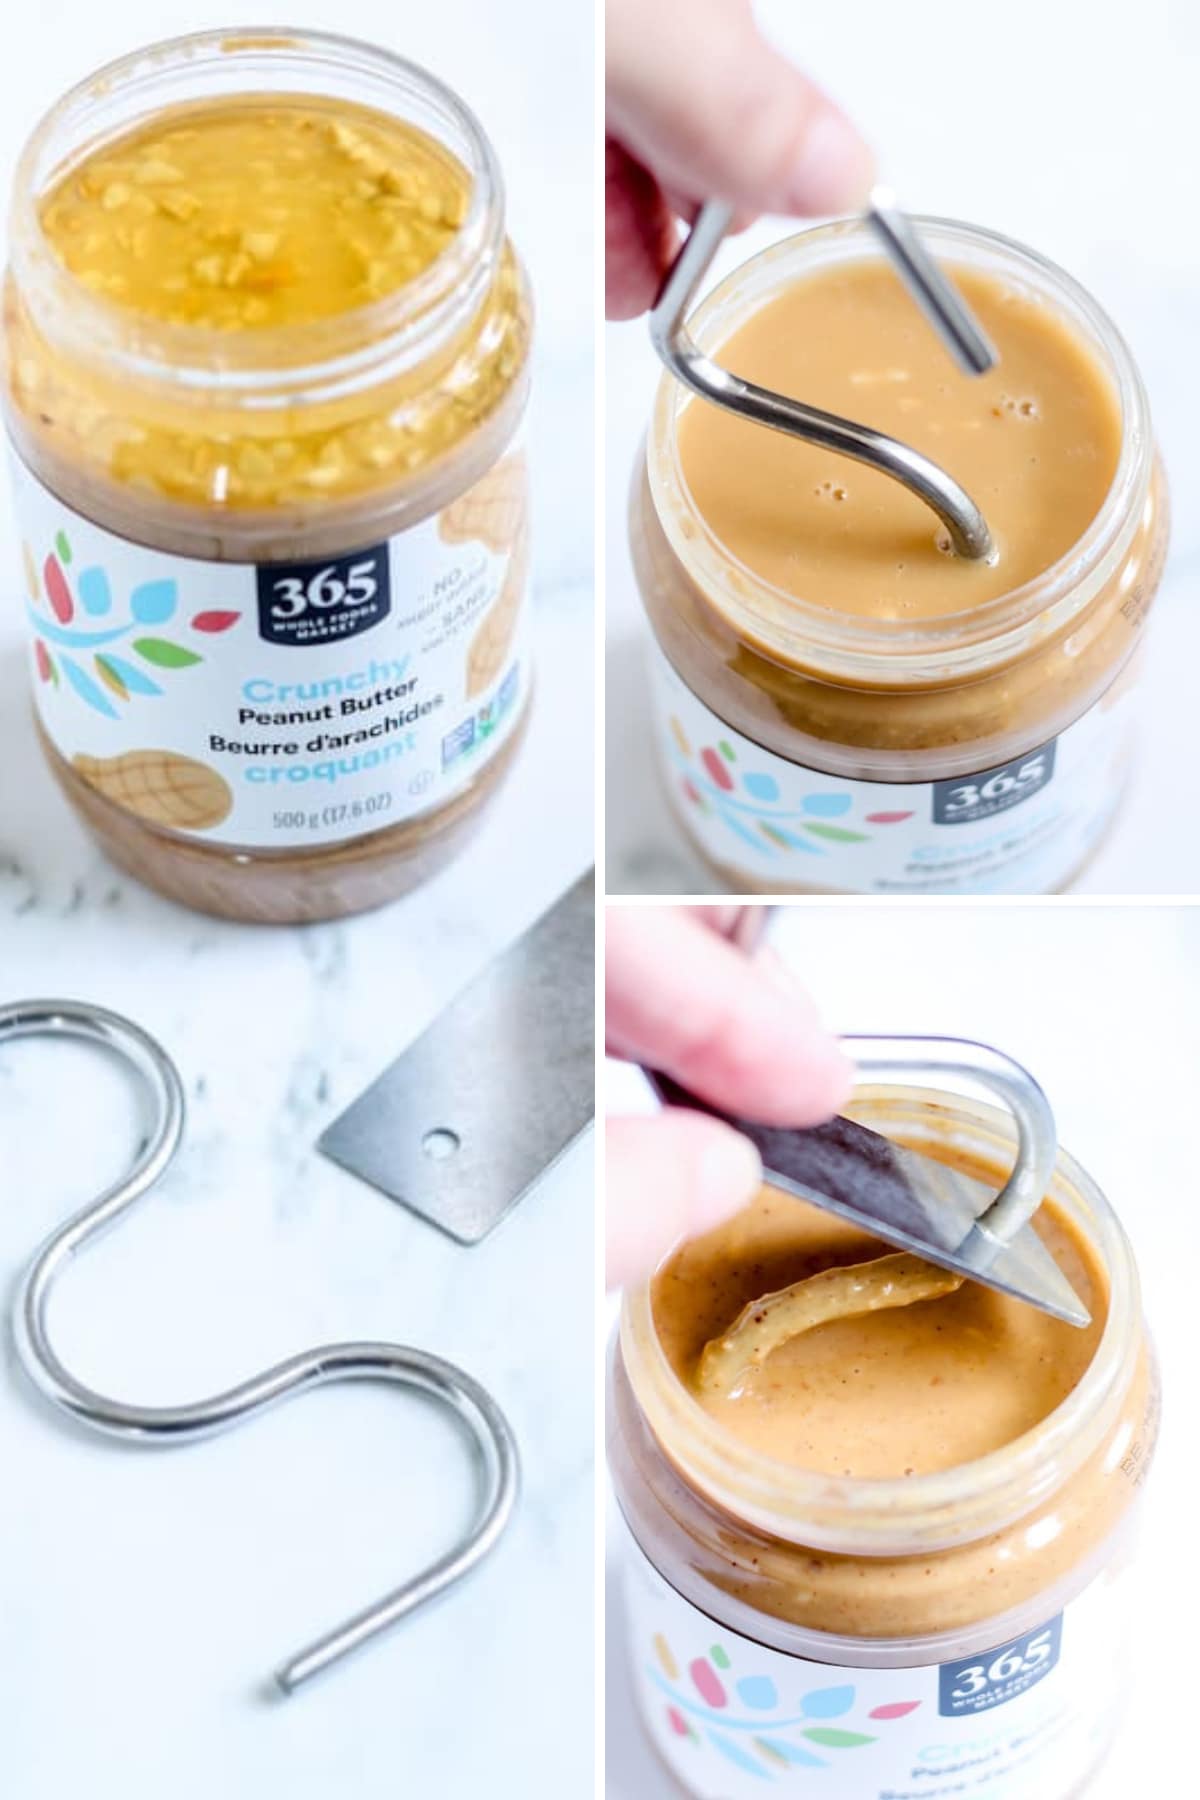
- Peanut Butter – Natural, drippy, fresh peanut butter works best. The natural oils help hold the balls together when they solidify after chilling. Use creamy peanut butter or chunky. Look for only peanuts and maybe sea salt on the label. Read through this list to find the best healthy peanut butter brands.
- Maple Syrup – One of our faves for natural sweetness. The stickiness also works as a binder, so your balls don’t crumble.
Equipment
- Mixing Bowl – A large bowl works well for mixing everything.
- Spatula – We love using a small spatula for stirring. It scrapes down the sides well, so you don’t miss anything. You could also use a large wooden spoon.
- Small Cookie Scoop – Handy for evenly portioning your dough. You could also use heaping tablespoons.
- Sheet Pan – We use a small baking sheet to chill the protein balls on.
- Parchment Paper – For lining the baking tray; a must for easy cleanup and no sticking. We recommend using unbleached parchment.
Expert Tip!
We use this handy hook tool to stir the natural peanut butter more easily. It makes mixing the oil so much simpler, and it has a little scraper to scrape it clean when you are done. I highly recommend it if you make a lot of recipes with peanut butter, as we do.
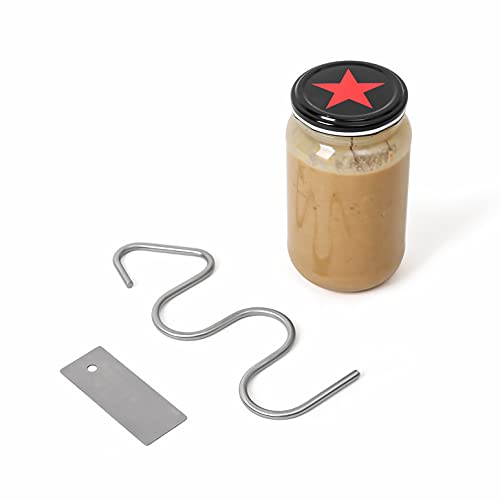
- Made of stainless steel. Won't rust or corrode over time.
- Dishwasher-safe.
Instructions
Scroll to the recipe card at the bottom for the FULL recipe details.
Step 1
First, line the small baking sheet with parchment paper and set it aside. The paper helps to keep it from sticking.
Step 2
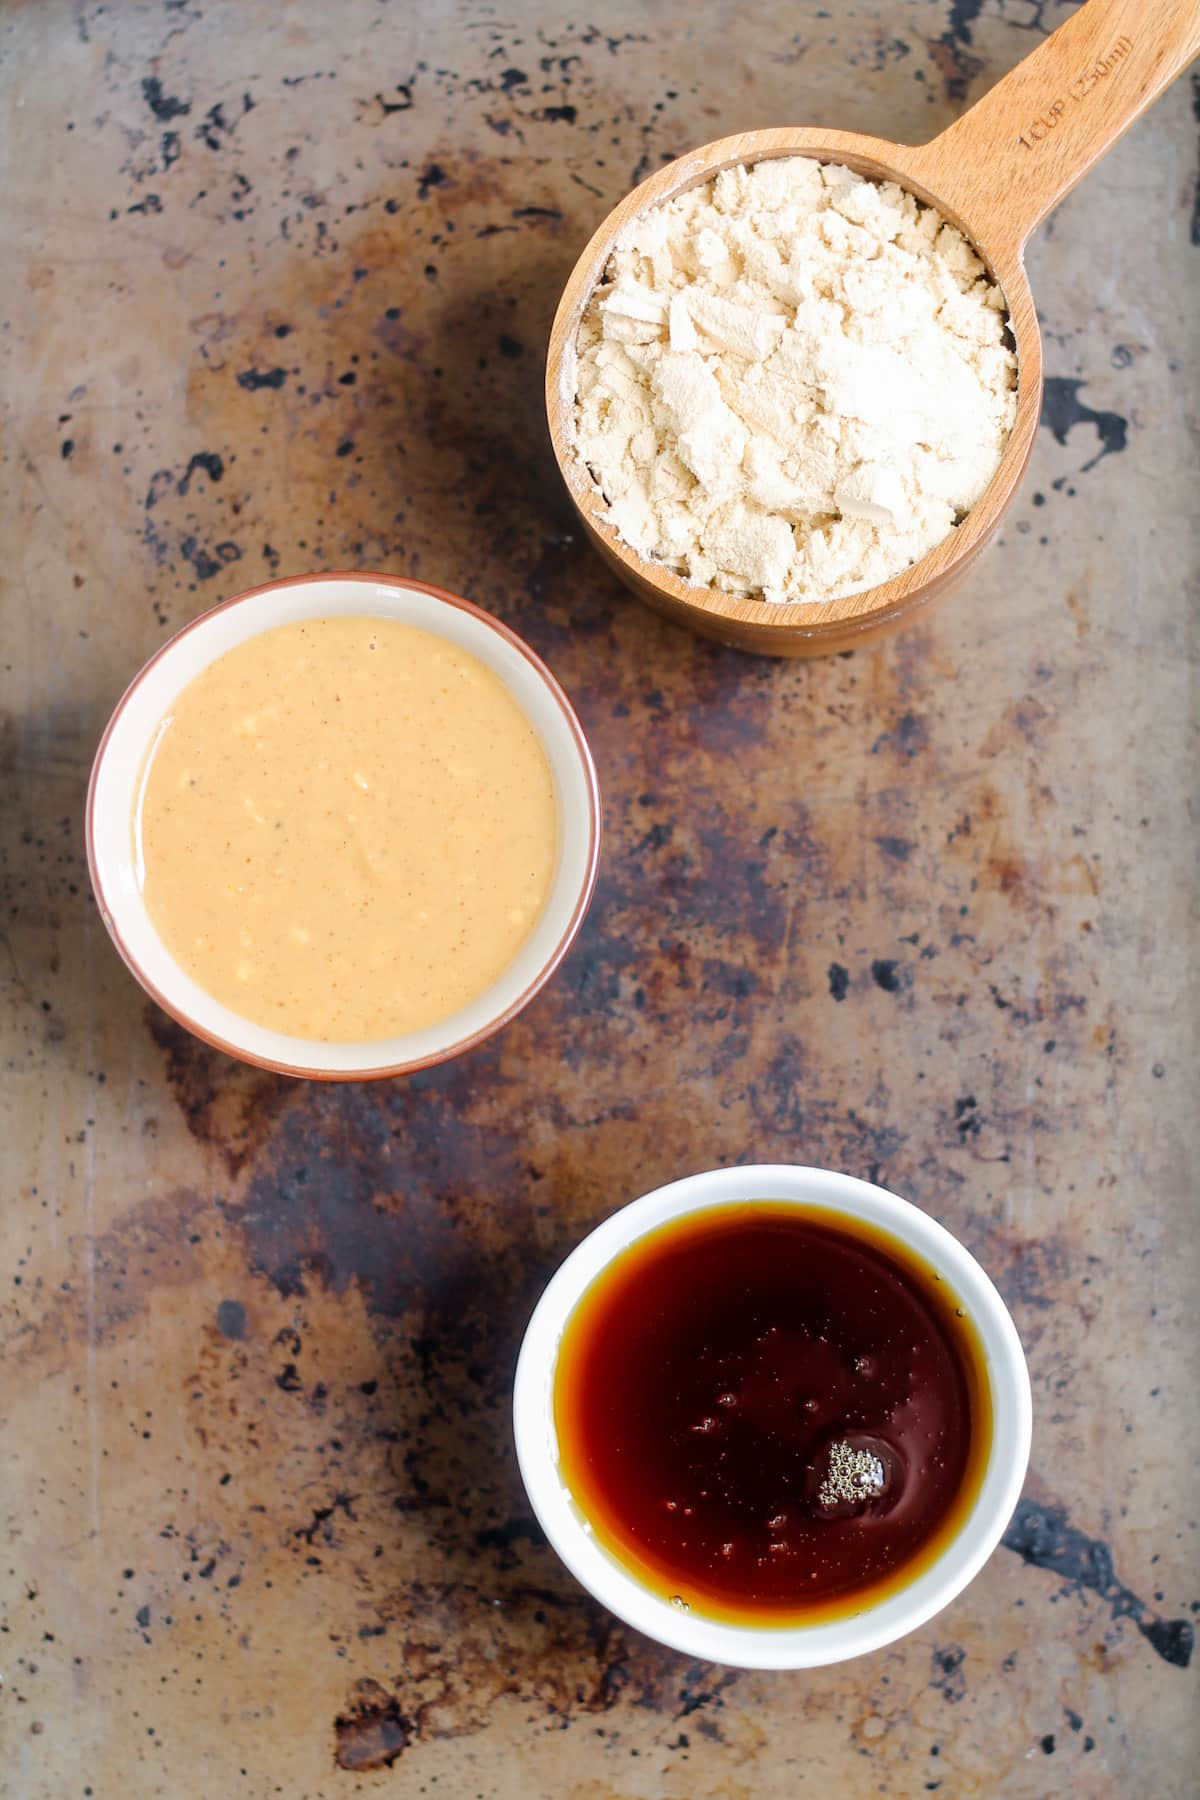
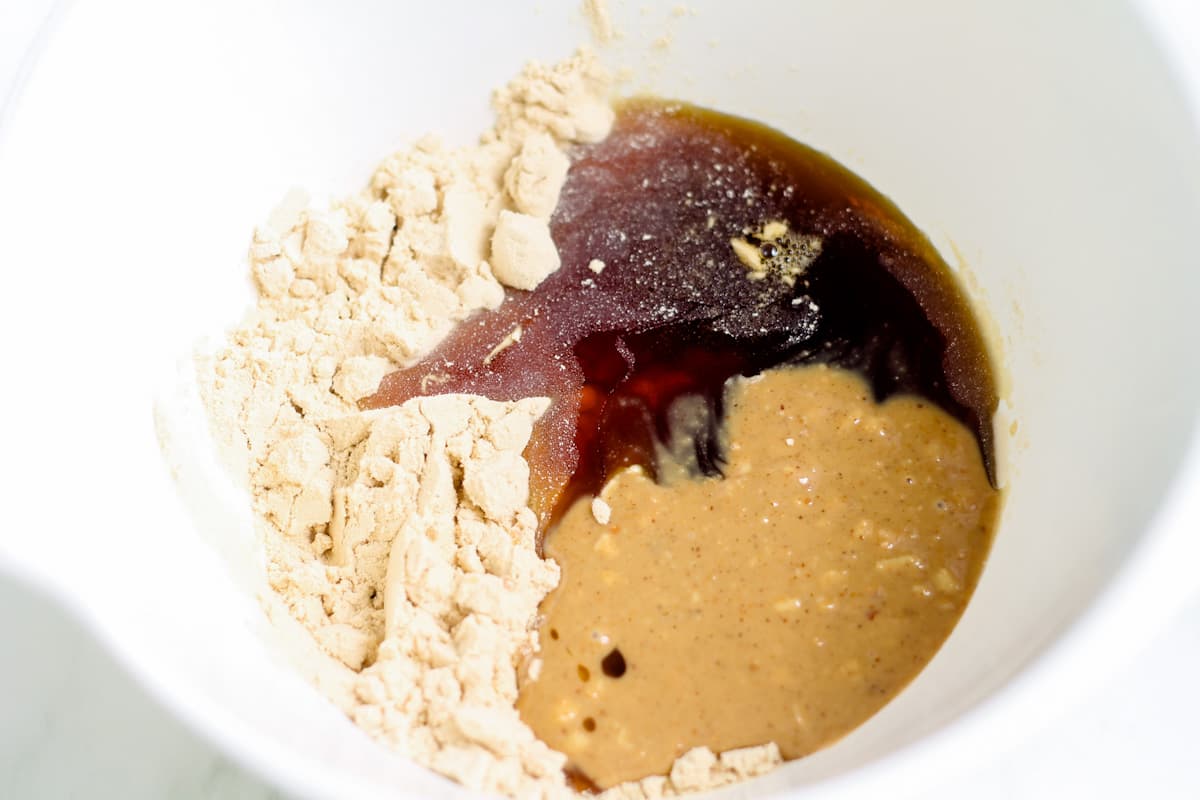
Then, add your ingredients to the mixing bowl. Easy peasy!
Step 3
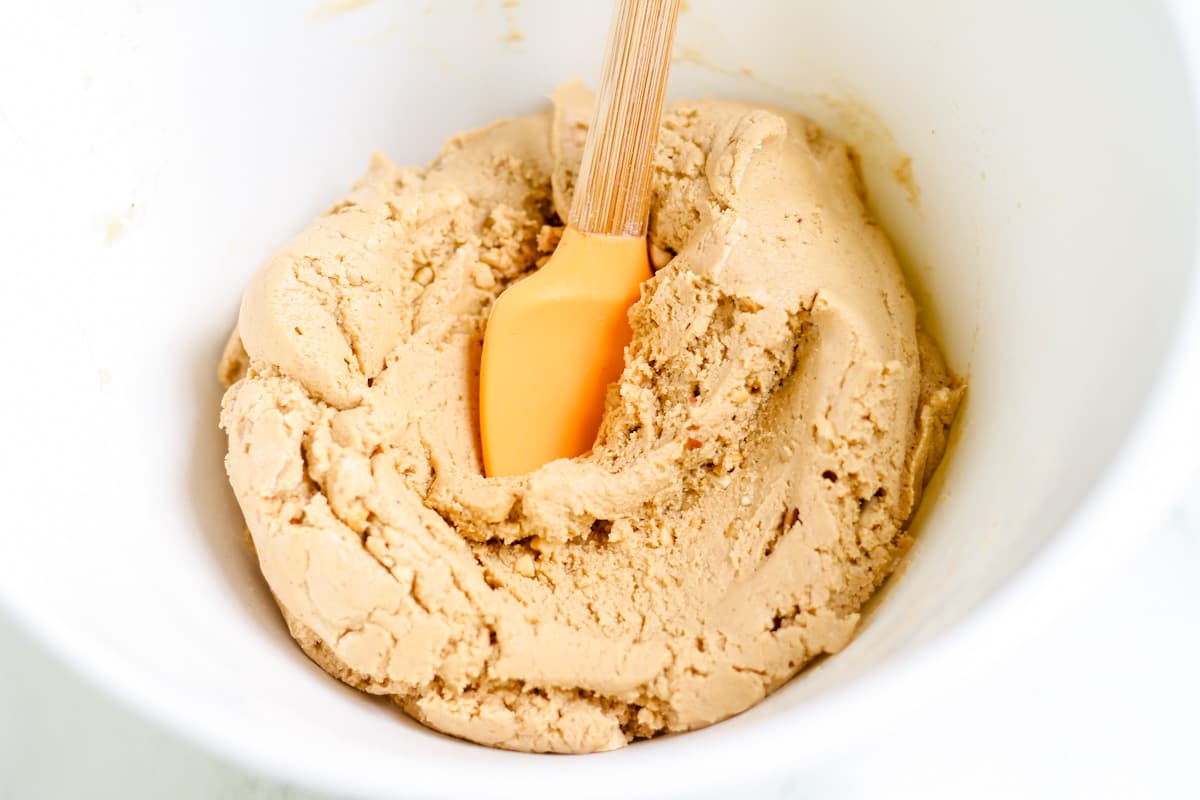
Next, stir the ingredients into a dough-like mixture.
This is why we love using a spatula for mixing. It does a great job of incorporating everything evenly.

A versatile and handy tool for the kitchen. Durable and easy to clean.
Step 4
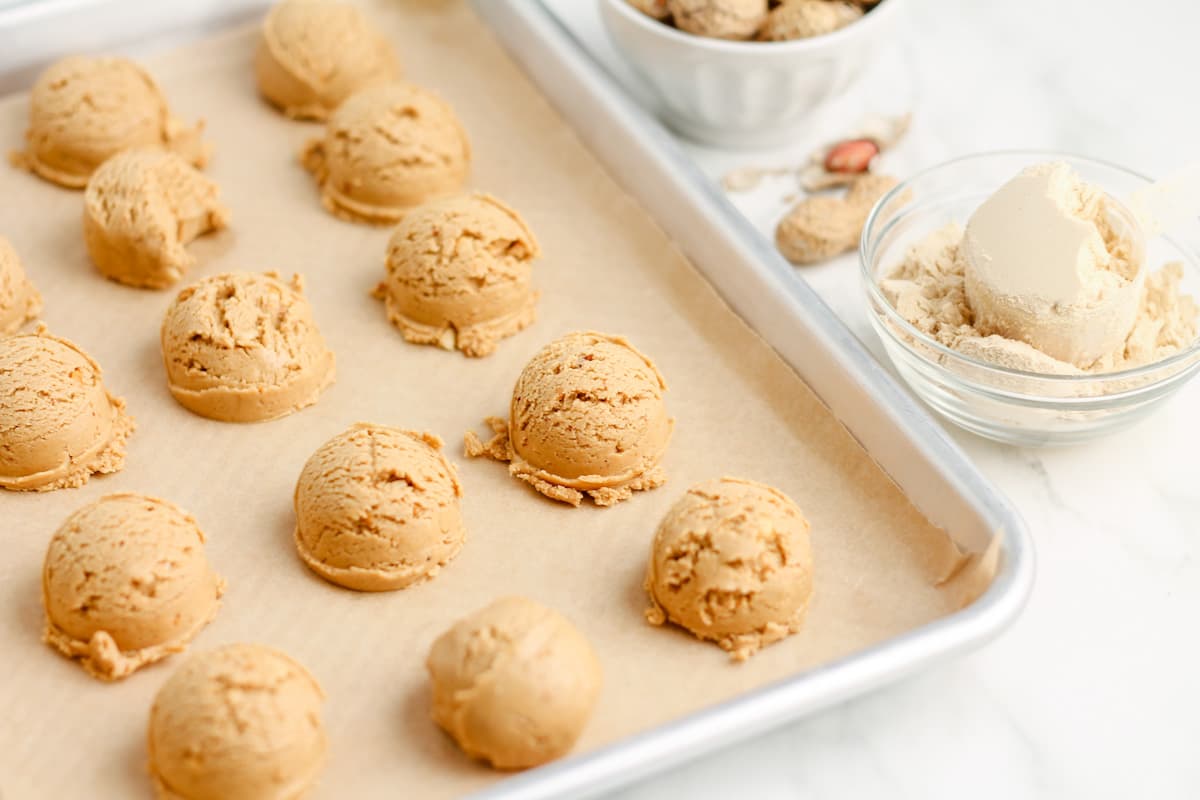
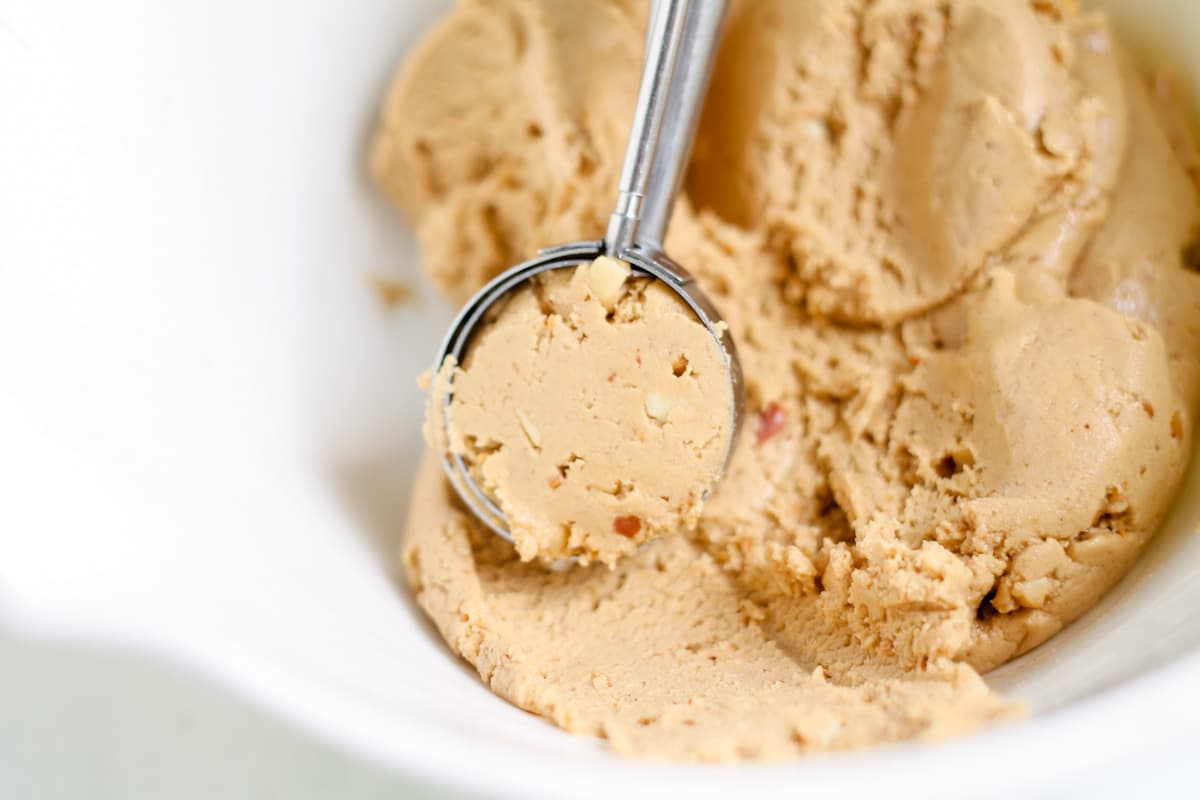
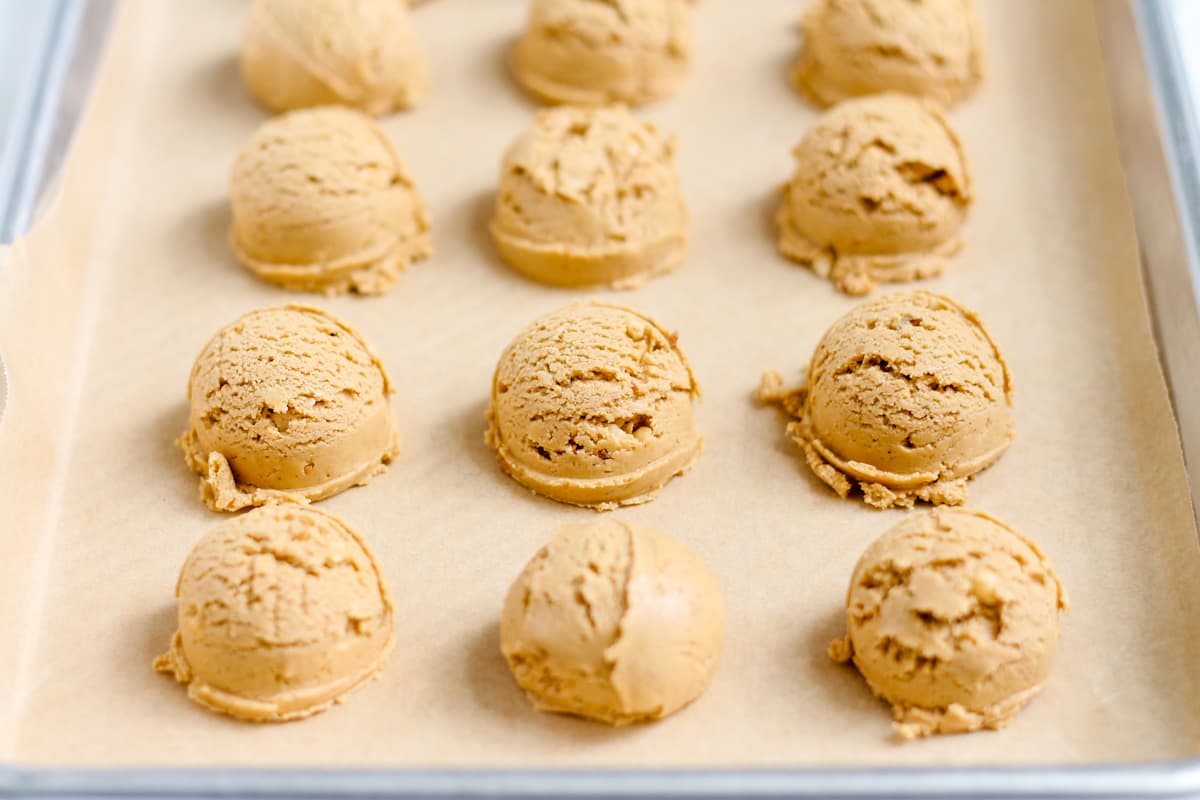
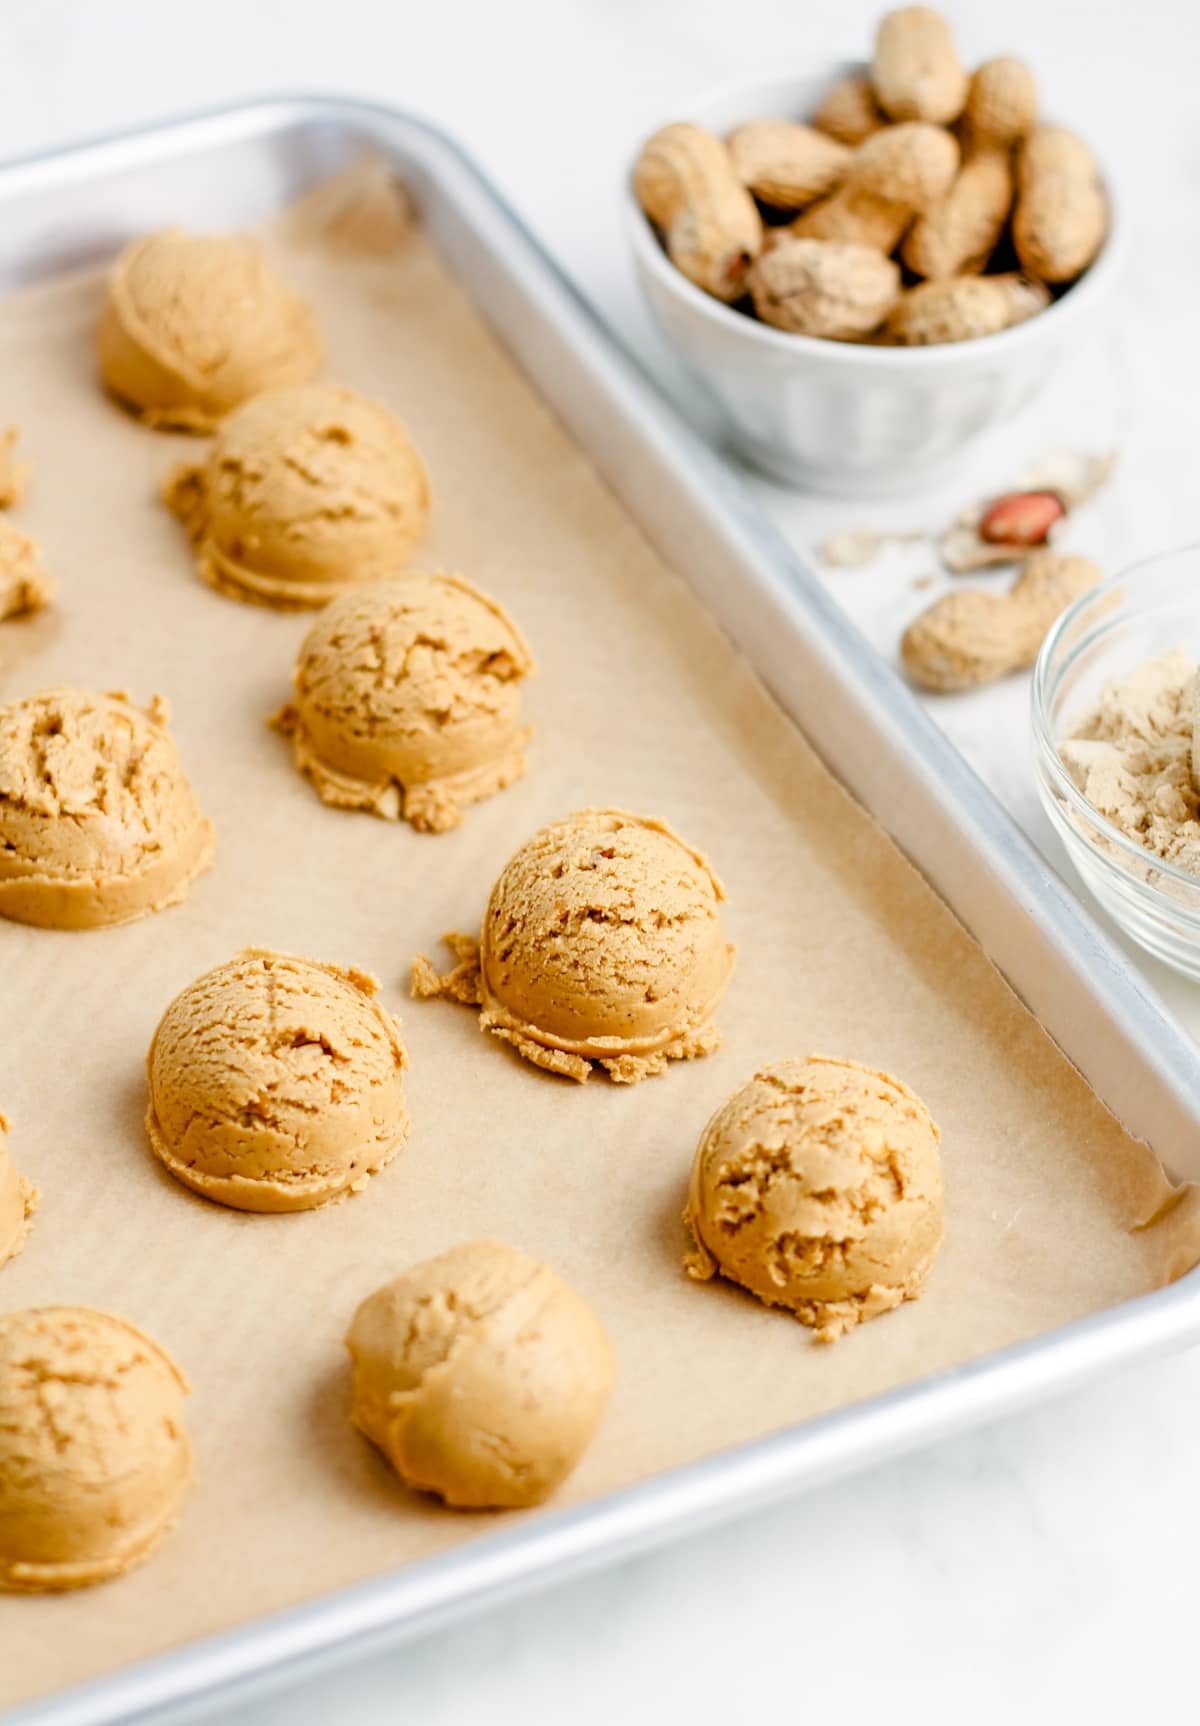
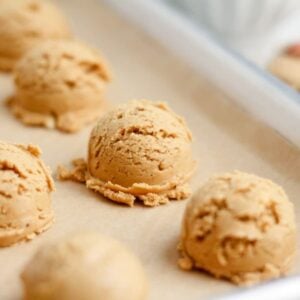
Then, scoop out the dough onto the parchment-lined baking sheet.
We use the small cookie scoop, which makes the job even easier. Just scoop it out and drop it onto the baking sheet.
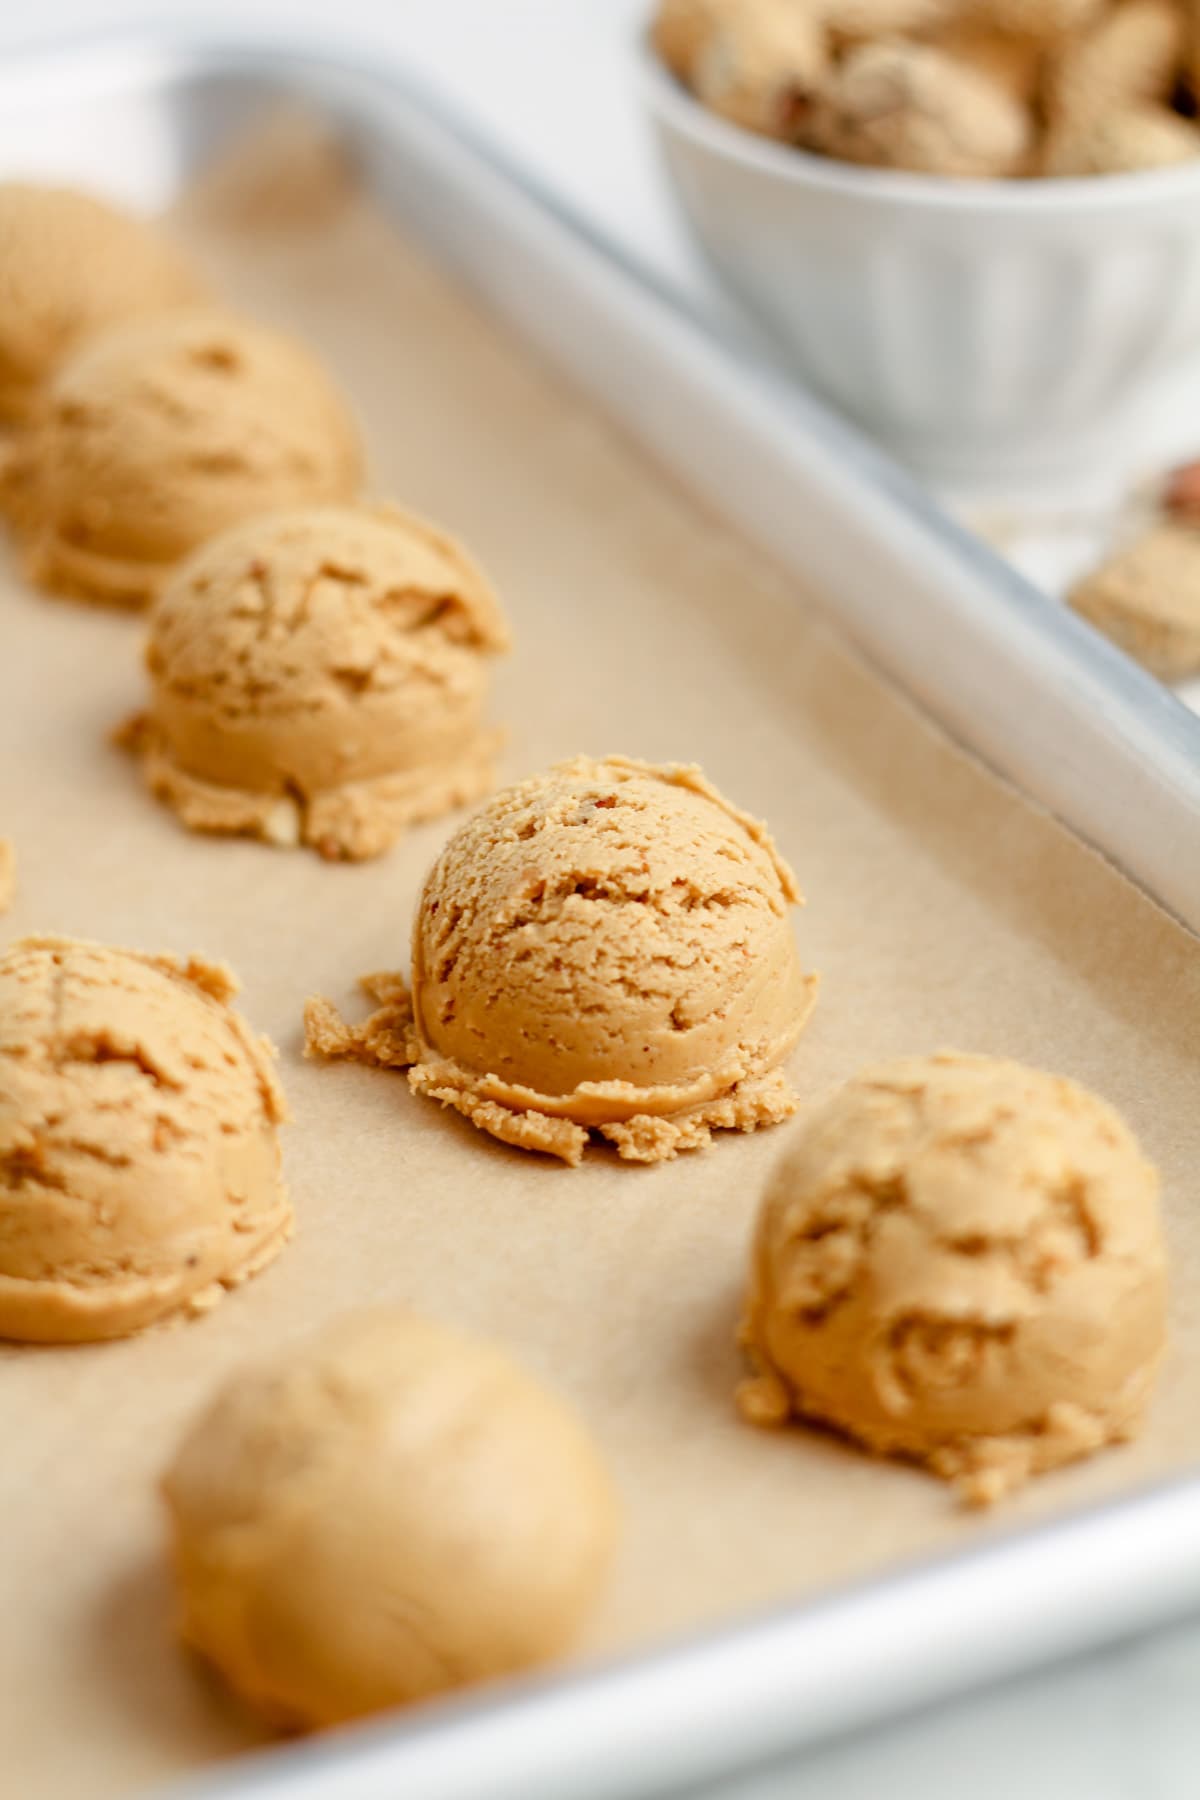
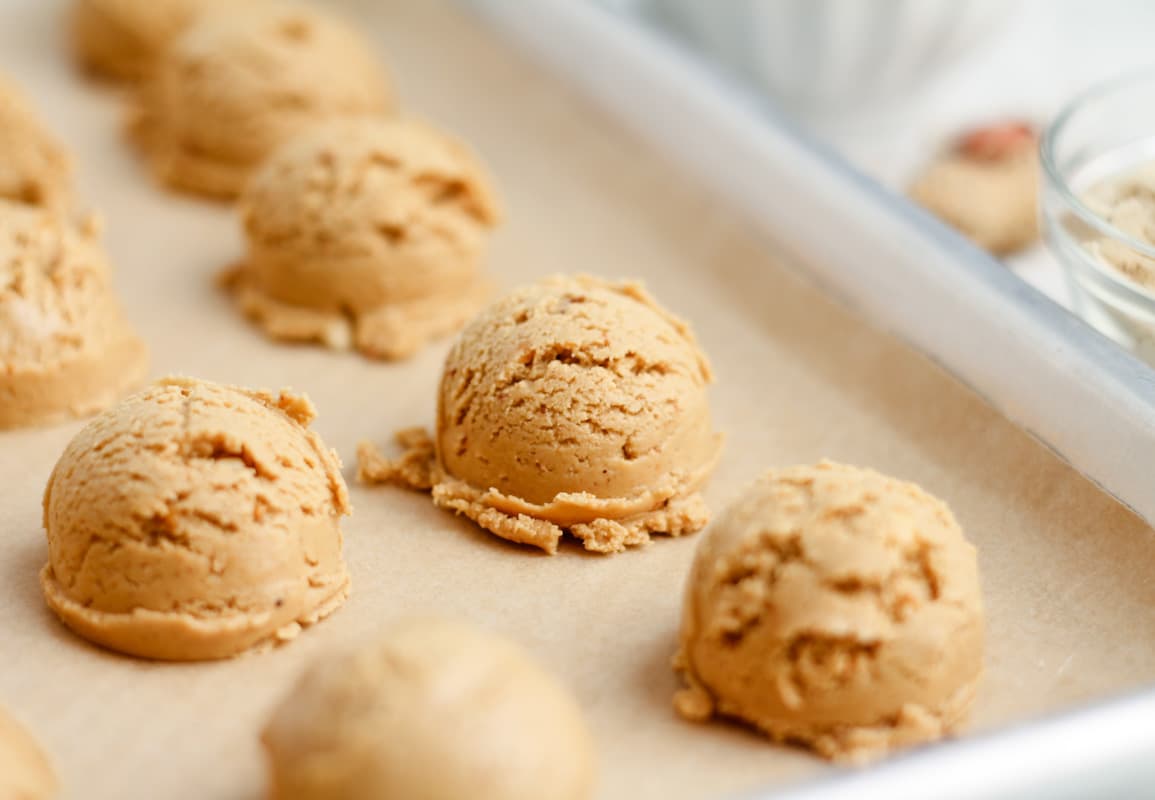
Step 5
Next, place the tray in the refrigerator or freezer to set.
Chill for about 45 minutes to an hour.
Then enjoy.
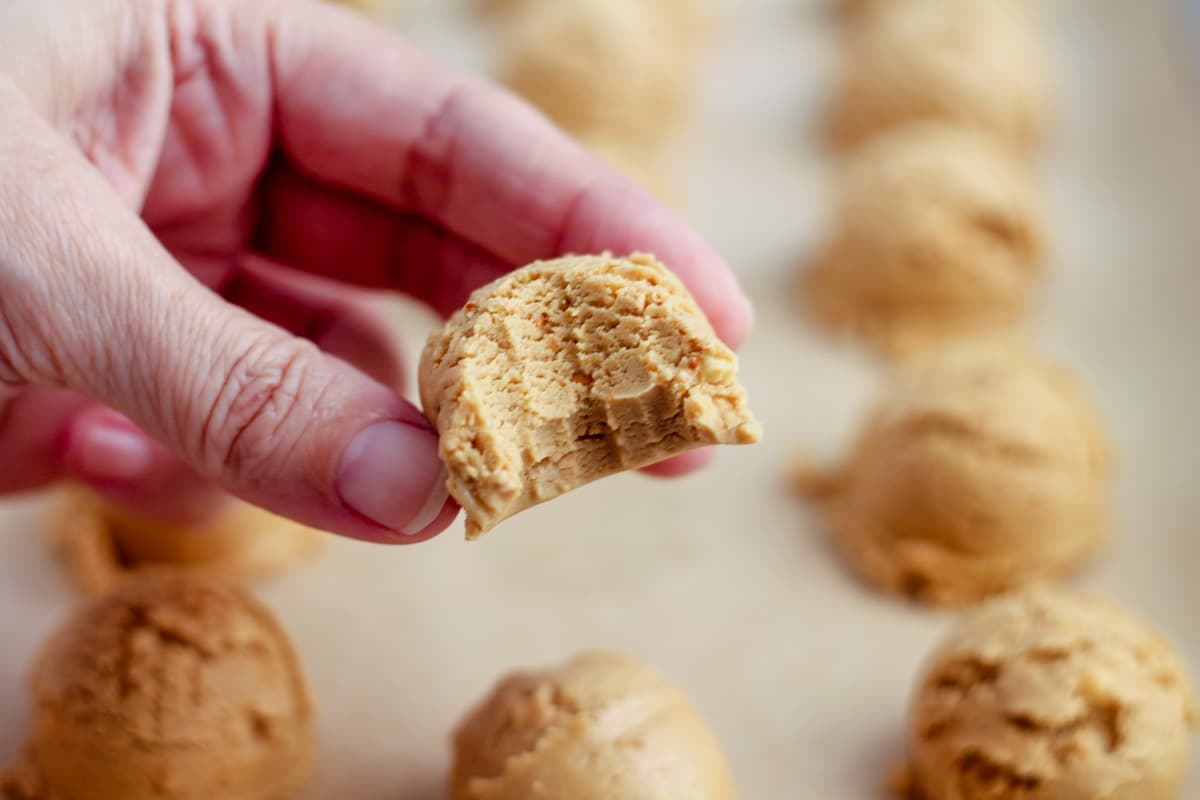
We love testing these right out of the freezer.
They have the best cookie dough texture. Yum!
Substitutions and recipe variations
Swap out the peanut butter for any other seed or nut butter. Almond butter, cashew butter, and sunflower seed butter all work well.
Use brown rice syrup or honey instead of maple syrup. Just know that if you use honey, it will no longer be technically vegan.
Get creative with all kinds of add-ins. Chia seeds, coconut, and mini chocolate chips are all yummy additions. Add a sprinkle of cinnamon and a handful of toasted pecans. Incorporate some chewy dried fruit such as raisins and cranberries.
Use chocolate protein powder for a healthy peanut butter cup vibe.
Serving suggestions
These peanut butter protein balls with protein powder are filling as a post workout snack. Also tasty as an afternoon or post dinner sweet treat.
Pair one up with a vegan bulletproof coffee and enjoy the extra brain boost.
FAQS
Protein powders are not created equal, and they all absorb liquid differently. This recipe was tested using plant-based Ora brand protein powder, which absorbs similarly to whey protein powder. Both of these are best for no-bake protein ball recipes. If the balls are too cumbly, add a touch more maple syrup or peanut butter.
Using a fresh jar of natural peanut butter is best. The natural oils will solidify when you chill the protein balls, keeping them held firmly together.
Storage tips
To Store: These peanut butter energy balls can be stored in an airtight container in the fridge or freezer for up to 2 weeks.
More protein powder recipes

*Originally posted June 10, 2024, and updated on March 28, 2026.*
If you’ve tried these protein and peanut butter balls, please give me a rating and let me know how it turned out by leaving me a comment below. I’m always interested in feedback!
Be sure to follow me on social media! I love pinning to Pinterest, sharing on Facebook, and posting pics on Instagram. See you there. 🙂
As an Amazon Associate, I earn from qualifying purchases.
Want to Save This Recipe?
Just enter your email and get it sent to your inbox! Plus you’ll get new recipes from us every week.
By submitting this form, you consent to receive emails from The Honour System
Peanut Butter Protein Balls
Ingredients
- 1 cup vanilla protein powder
- ½ cup natural peanut butter
- ½ cup maple syrup
Instructions
- Line a small baking sheet with parchment paper and set aside.
- Add the protein powder, peanut butter, and maple syrup to a mixing bowl.
- Then, stir everything well to combine.
- Once the mixture is a smooth dough, use a small cookie scoop and scoop heaping tablespoon-sized balls onto the prepared baking sheet.
- Place the baking sheet into the freezer for 45 minutes or until firm.
These are almost too sweet. Super easy though.
They have a treat-like vibe for sure!
LOVE YOUR RECIPES
I love your positivity!! Thanks Pat. 🙂
These turned out delicious! They were super easy to make too. I brought them for work for a snack throughout the day.
Thanks for the great feedback Allie!!