Gluten Free Brownies
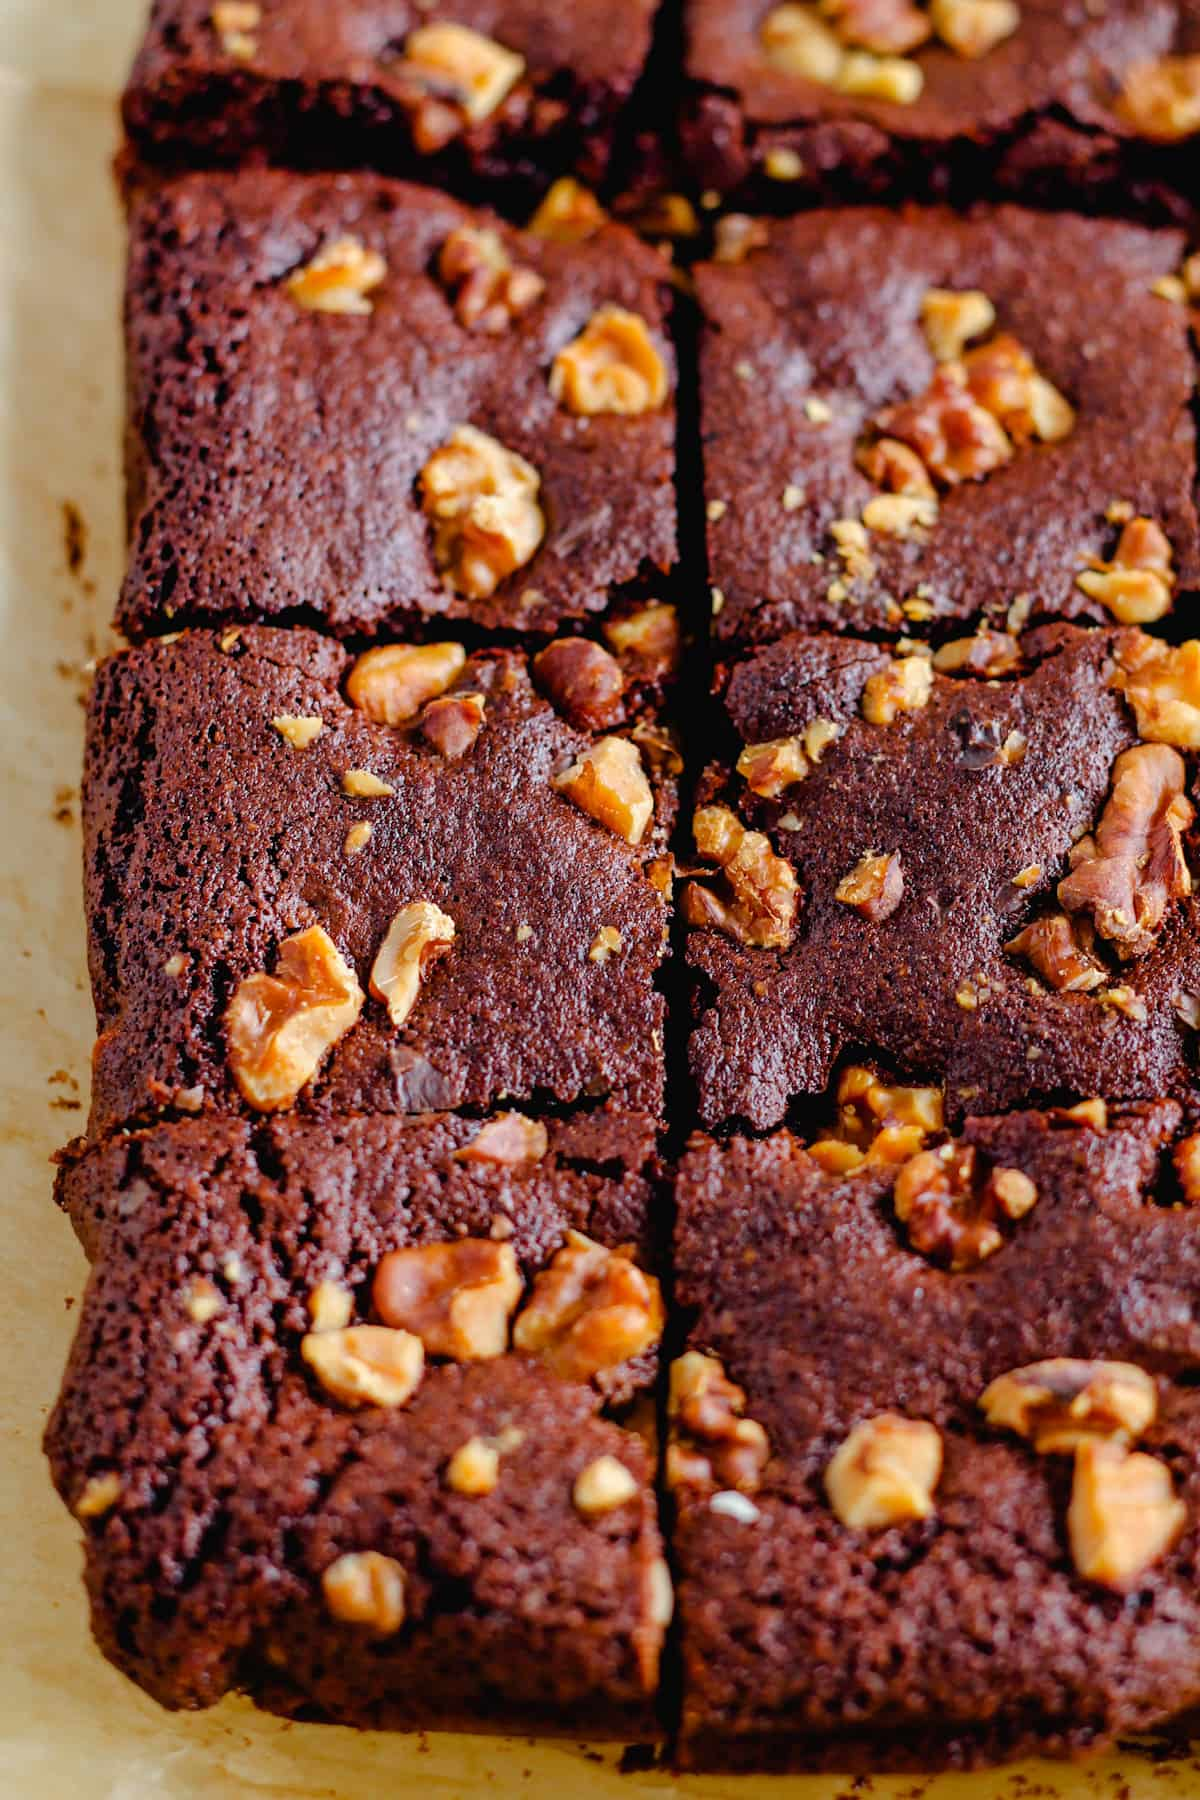
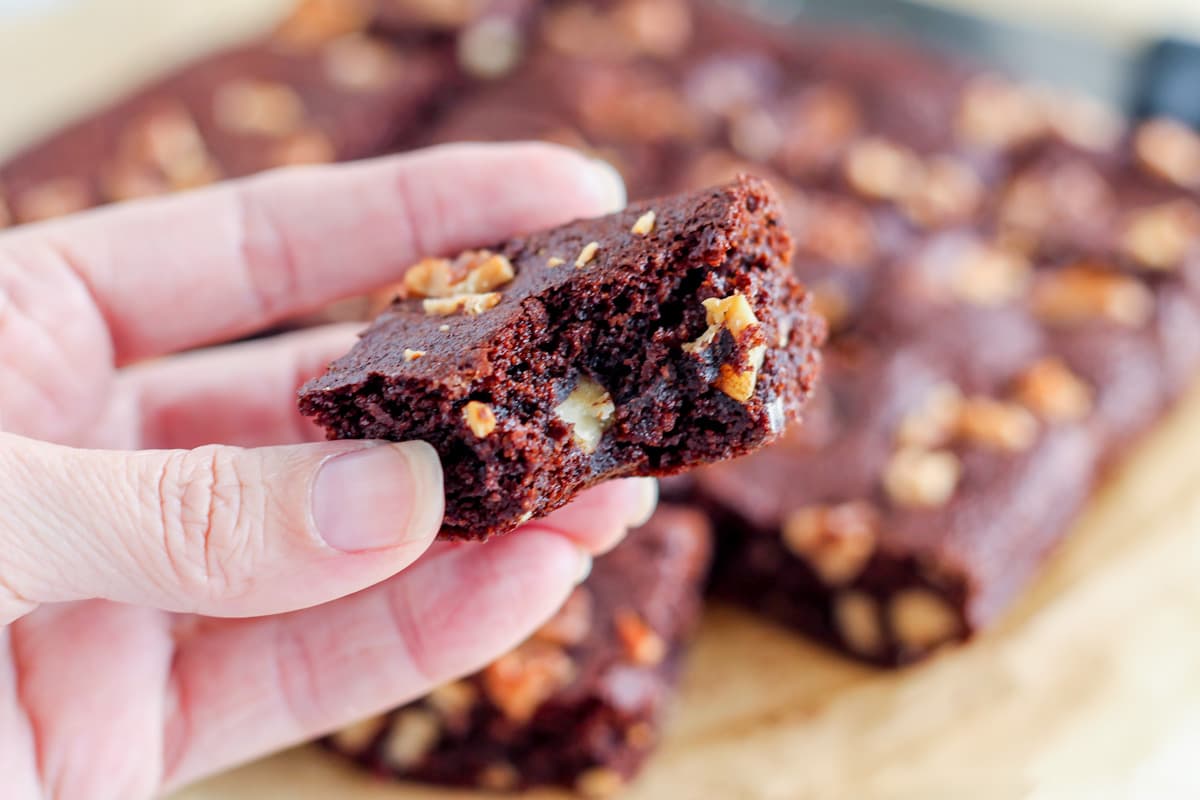
This recipe for Gluten Free Brownies is an absolute standout! Crafted using almond flour, these brownies are guaranteed to satisfy a crowd. These wholesome treats strike the perfect balance between fudgy and sweetness, and they boast those irresistible chewy edges we all love.
As an Amazon Associate, I earn from qualifying purchases.
We LOVE chocolate treats! Like this recipe for Chocolate Crunch Cups or these Chocolate Chia Power Balls – there are so many wholesome ways to enjoy chocolate. Check out all of our Chocolate Recipes to satisfy your sweet tooth in a healthier way.
Why YOU will love this recipe
- For individuals with gluten sensitivity or celiac disease, this gluten-free brownie recipe allows them to enjoy a classic treat without health consequences.
- Almond flour produces a moist and fudgy brownie, which many people find delightful.
- These are also dairy-free brownies which makes it an inclusive choice when hosting so people with different dietary restrictions can all enjoy it.
Ingredients
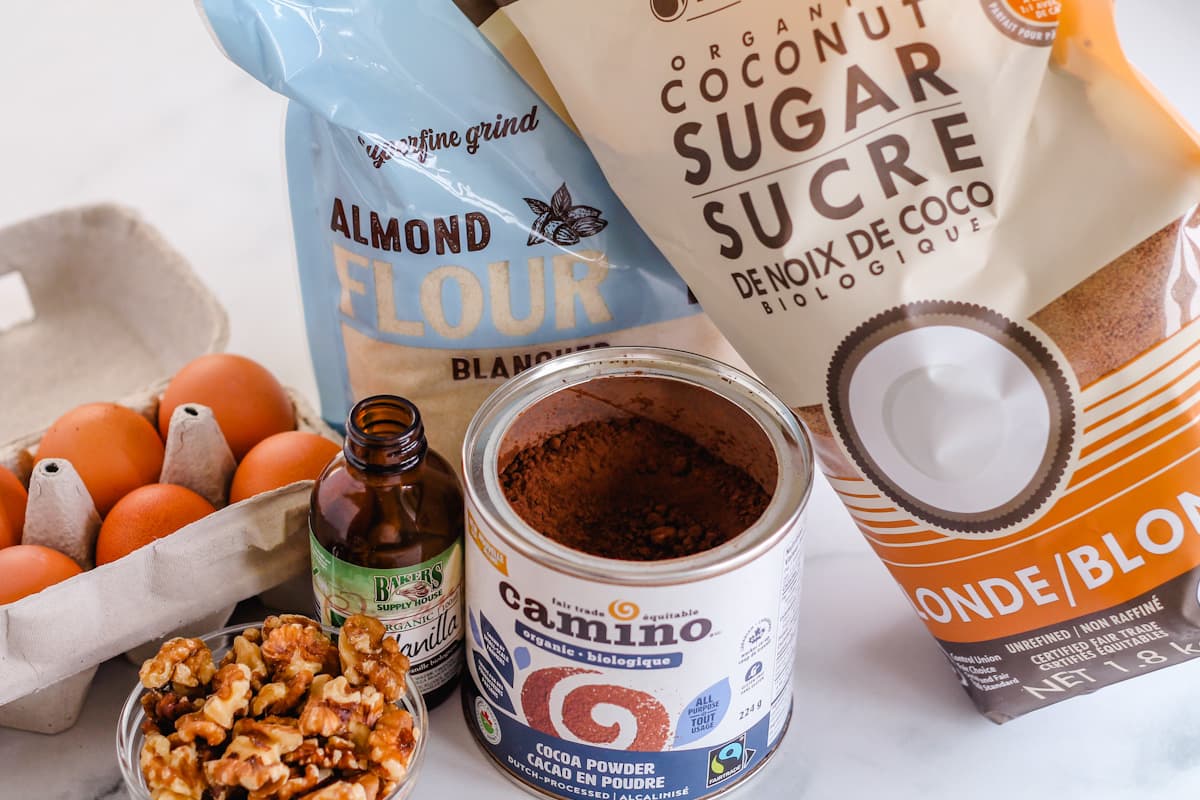
Find the full ingredient list, with measurements, in the recipe card below.
- Almond flour – Brownies made with almond flour are neutral yet rich in flavor and the fudgy chocolatey goodness really shines through. Be sure to use blanched almond flour for best results.
- Coconut sugar – This gives you that chewiness you love from brownies and is a less refined sweetener than white sugar.
- Unsweetened cocoa powder – Use regular cocoa powder, dutch process cocoa, or even cacao powder.
- Eggs – We recommend using room temperature eggs. If they are cold from the fridge they will solidify the coconut oil again and change the texture. Substitute flax eggs for a vegan recipe.
- Coconut oil – Lightly melt the coconut oil before adding it to the batter. You could also use butter.
- Vanilla Extract – This adds that classic warmth to all of your baked goods.
- Baking soda – This is a leavening agent that helps the brownies rise.
- Sea salt – A pinch of salt brings all the flavors together.
- Chopped walnuts – Nuts are optional but highly recommended for added crunch.
Equipment
- Mixing bowl – For combining all of the ingredients in.
- Spatula – We use a small spatula for both stirring the ingredients and spreading the batter into the baking dish. These little beauties are our favorite kitchen tool.
- Baking dish – Our recommendation is a ceramic 9×9 baking pan.
- Parchment paper -This is a must for easy cleanup. We recommend using unbleached parchment paper as a cleaner alternative to aluminum foil.
Instructions
Scroll down to the recipe card at the bottom for the FULL recipe details.
Step 1
First, start by heating the oven to 350 and lining the baking dish with parchment.
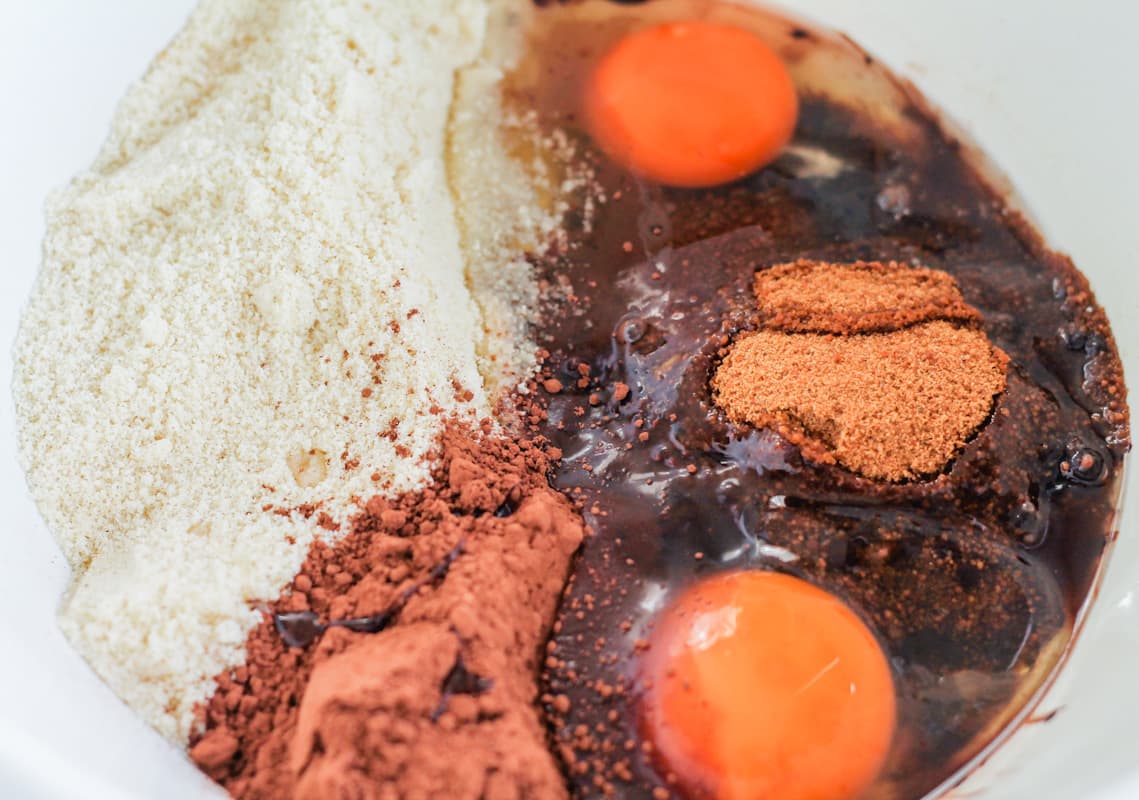
Then, add all of the ingredients to a mixing bowl.
Step 2
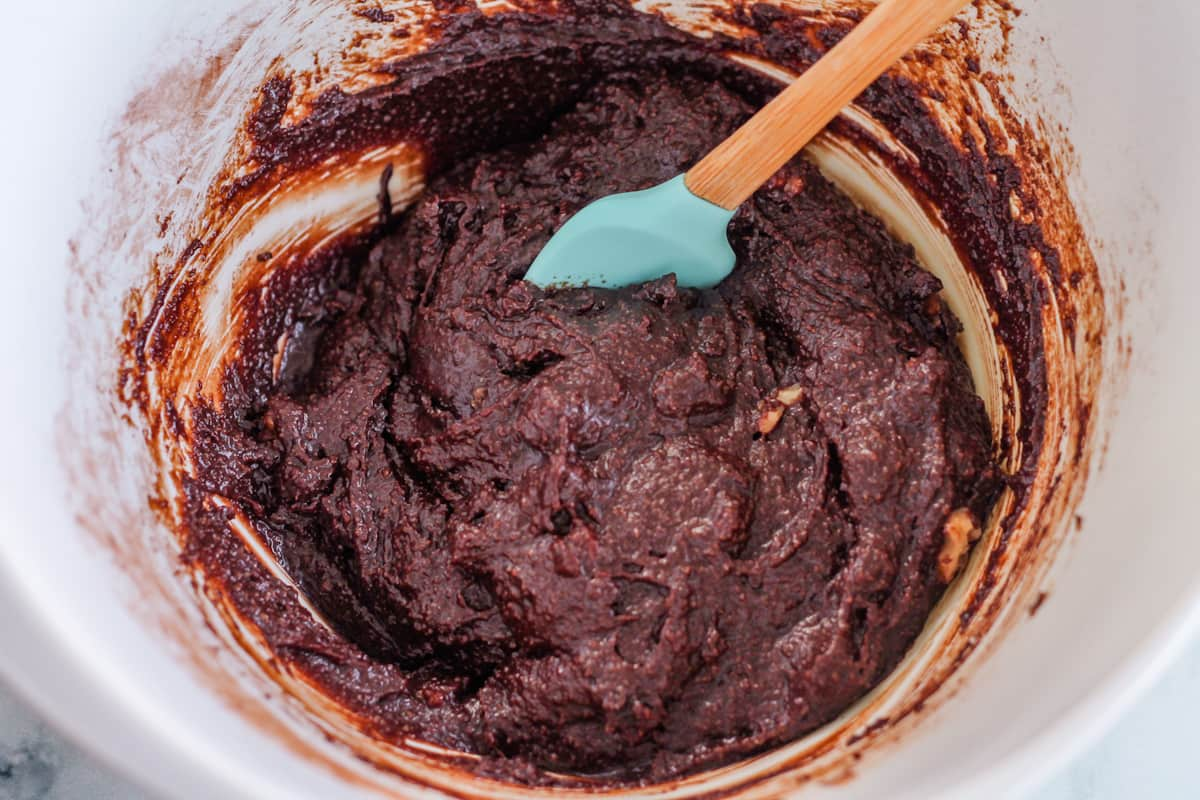
Next, using the spatula, mix everything together.
Give it a good stir to get rid of most of the lumps.
Step 3
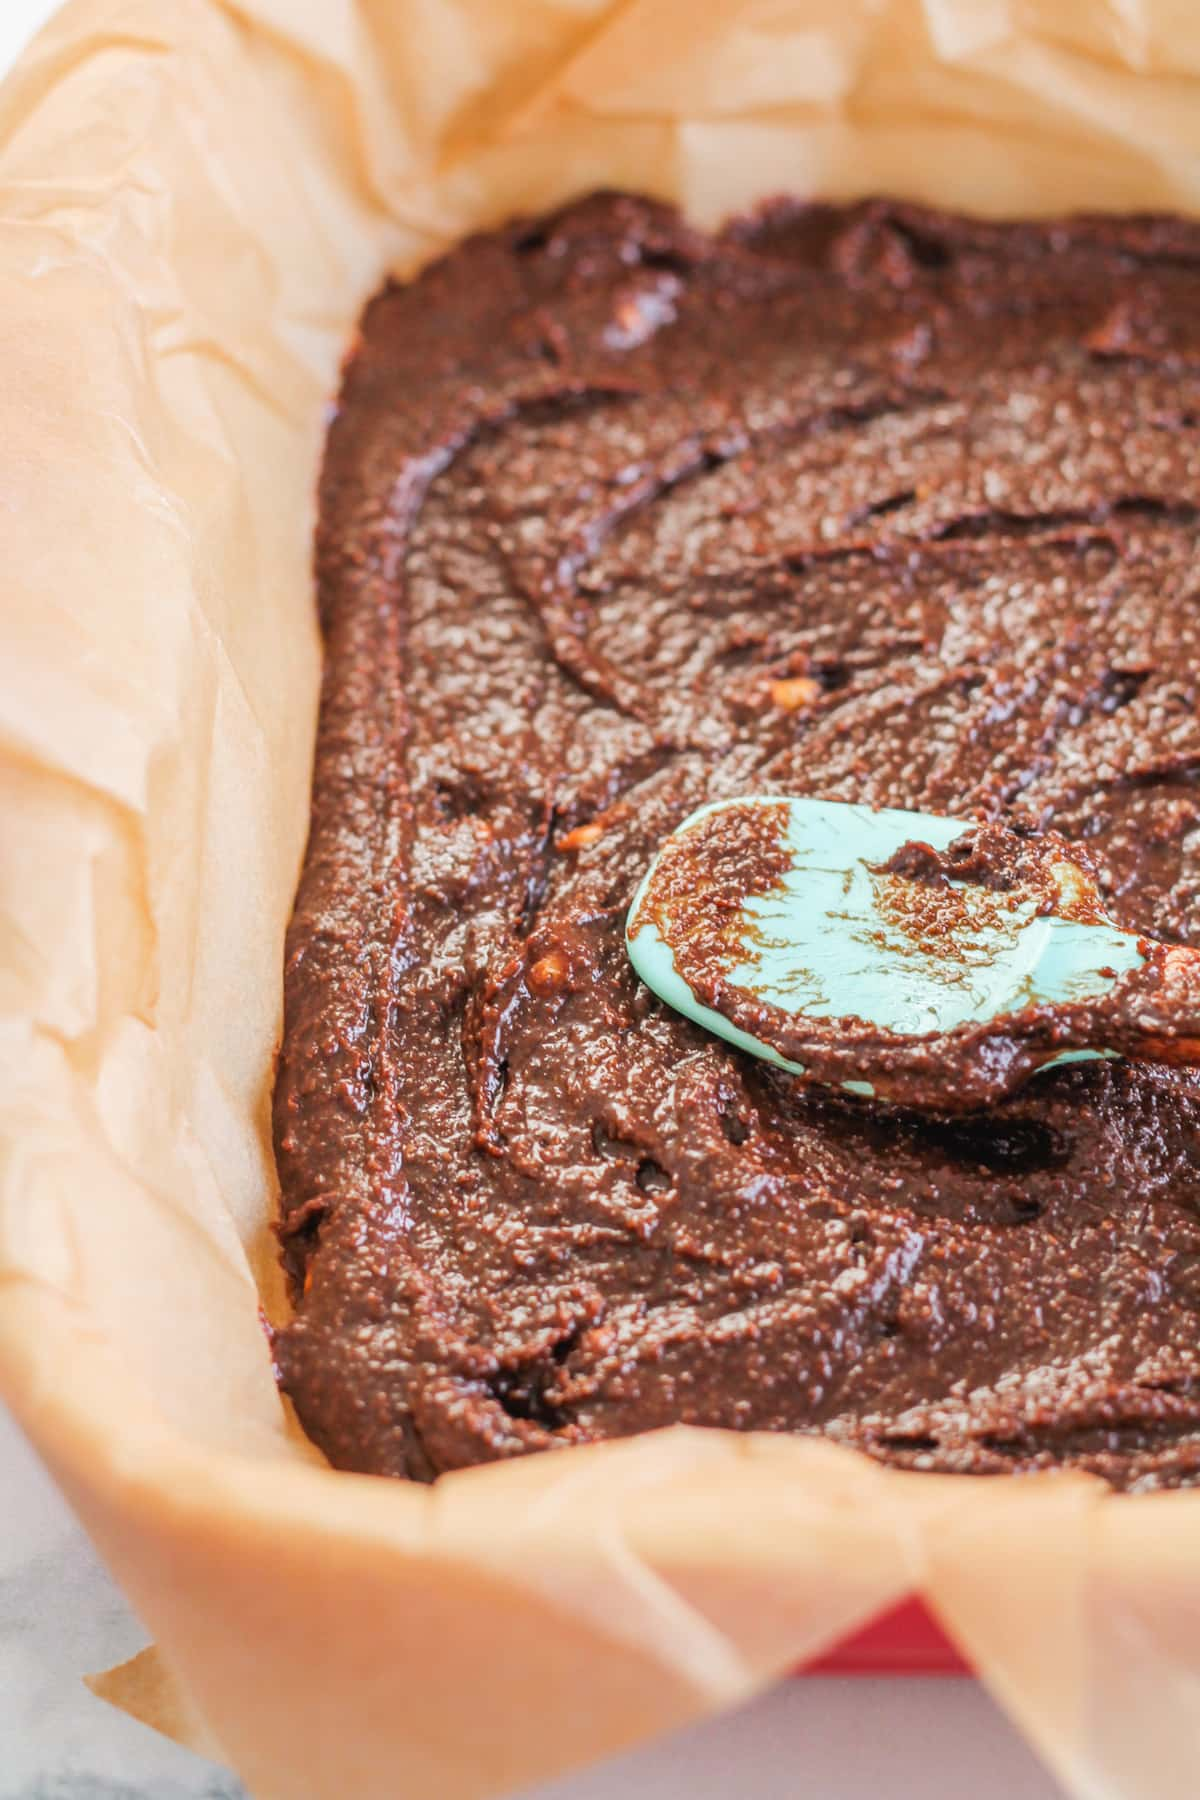
Next, spread the mixture evenly into a parchment-lined baking dish. This isn’t a brownie batter that you pour out. It is pretty thick.
Use a spatula to get everything pushed evenly into the corners, etc.
Step 4
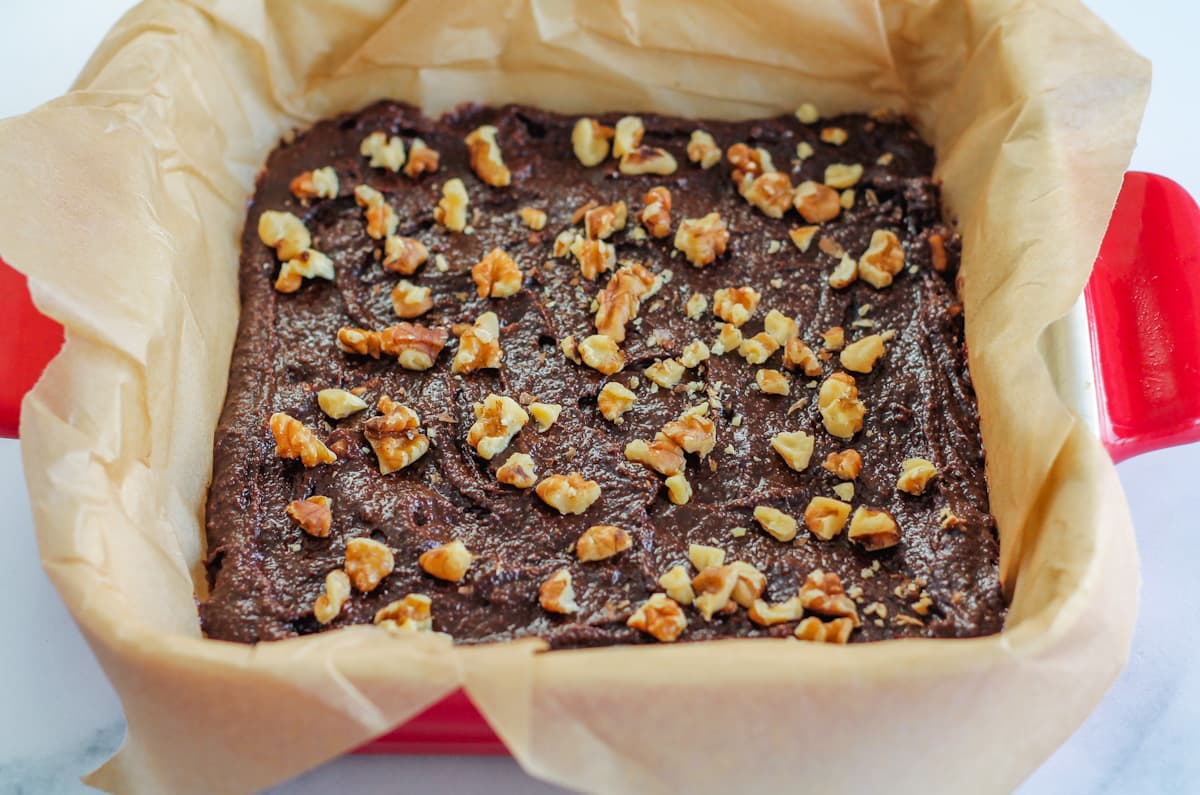
Then, top the batter with a handful of chopped walnuts. For us, nuts are a must in brownies.
They are the best gluten-free brownie addition in our opinion.
Step 5
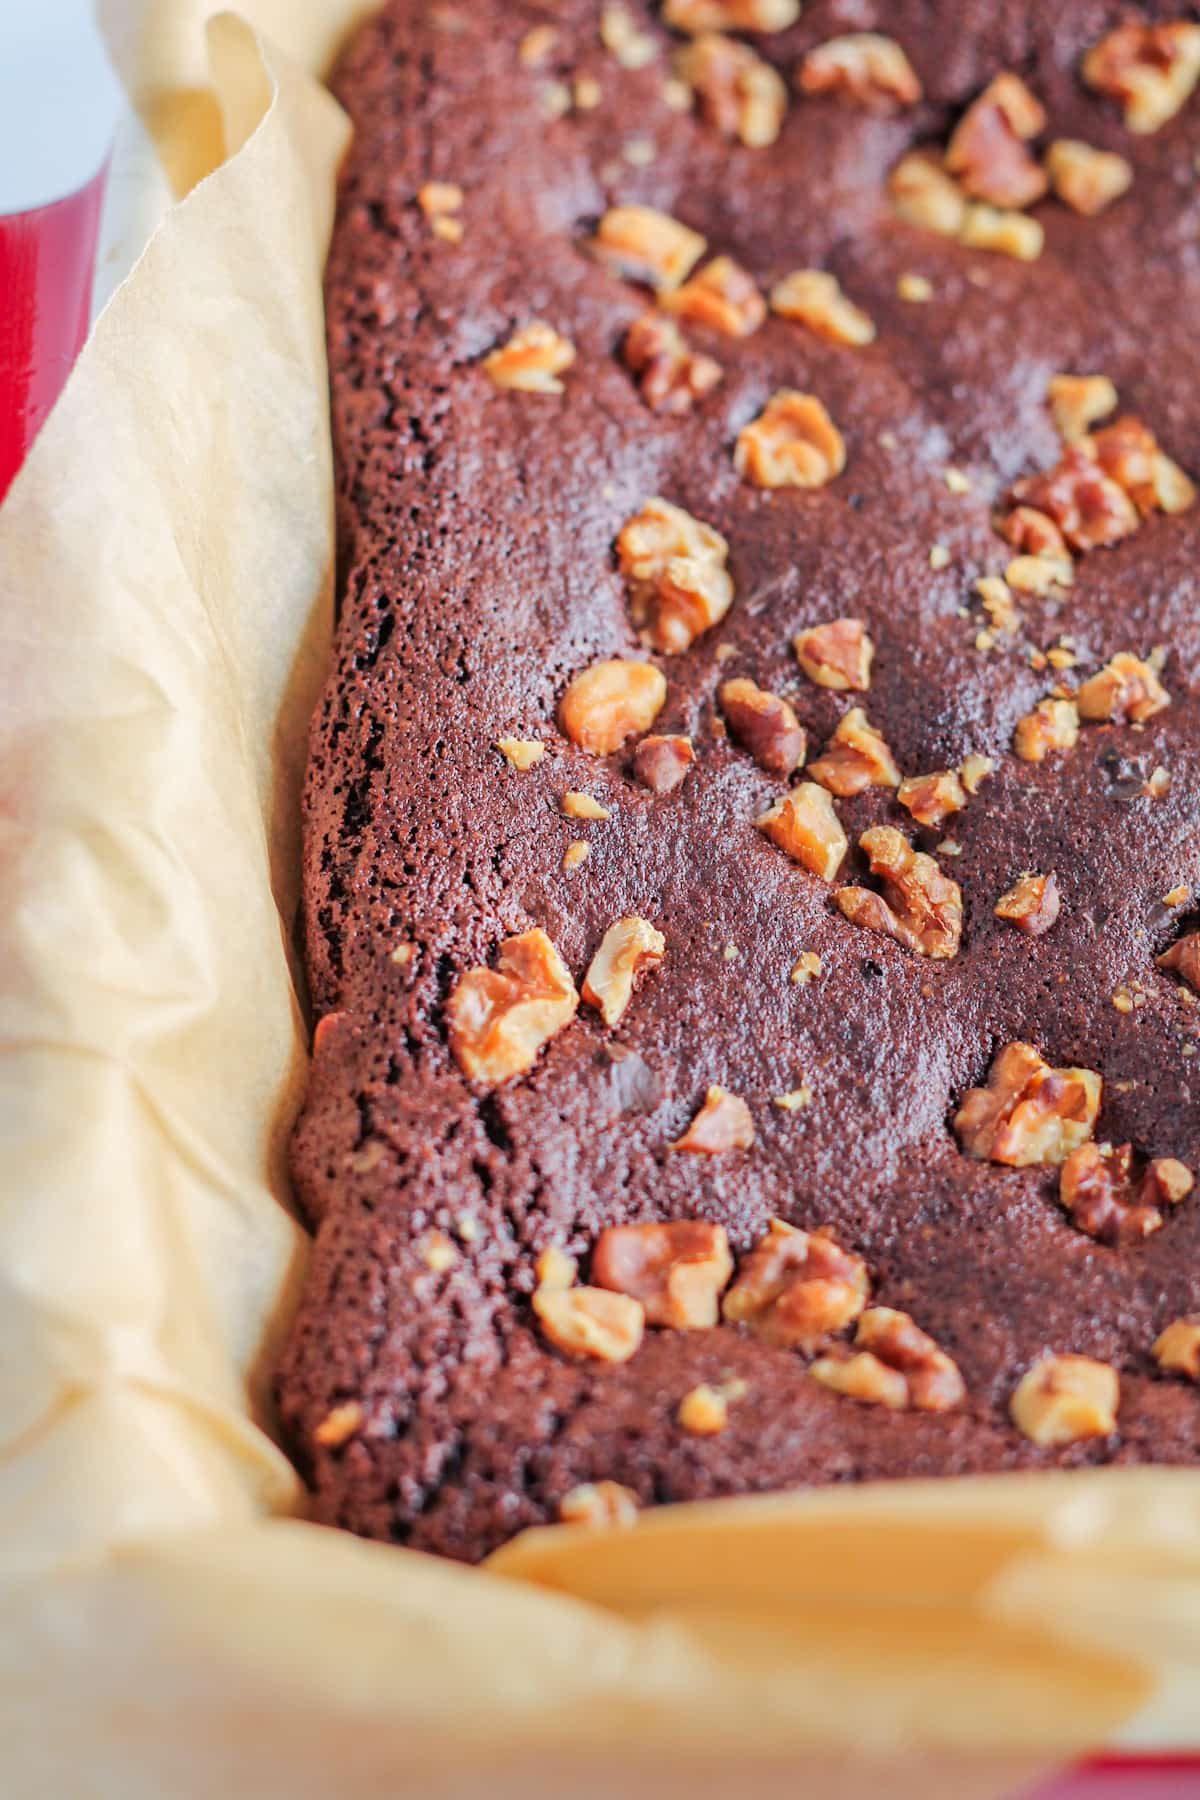
Finally, pop the dish into the oven and bake for between 25-35 minutes. You want the edges to look dry.
Do a toothpick check to see if it comes out clean.
Expert tips
If you like a gooey brownie take them out at the lower end of the time limit and if you prefer a more dense brownie leave them in for closer to the 35-minute mark.
An important tip is to wait at least an hour before slicing your brownies. Even though it is tempting to immediately just dive in, if you cut brownies too soon they will be goopy and the edges will be soft.
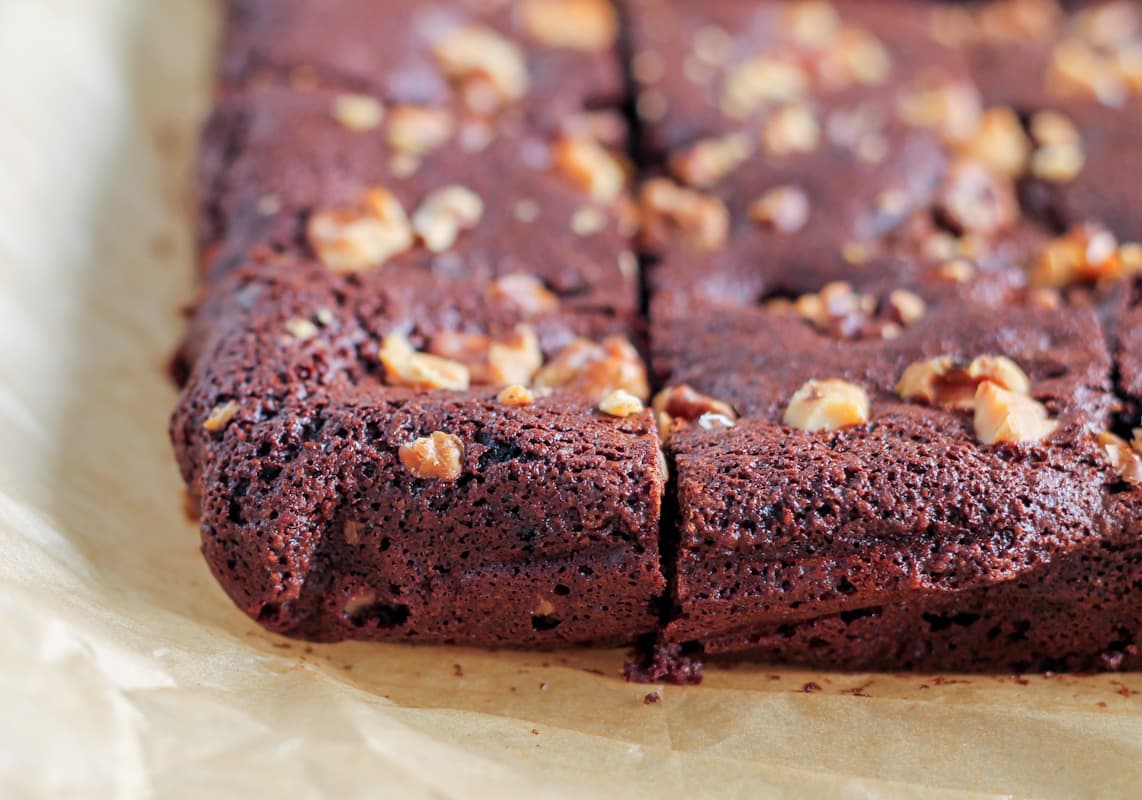
You want chewy edges like these:
Recipe variations
- For an even more fudgy gluten-free brownie add a handful of dark chocolate chips to the batter before baking and sprinkle a few on top for an extra chocolate flavor.
- Substitute the almond flour for a gluten-free flour blend like King Arthur.
- Experiment with different nuts such as pecans or almonds.
- Try something totally unique with this yummy recipe for Matcha Brownies.
Serving suggestions
- Enjoy brownies as they are, cut into squares or rectangles. You can serve them warm or at room temperature.
- Serve with ice cream, whipped cream, and caramel sauce for an elaborate dessert.
- Pair your brownies with a cup of coffee or tea for a delightful dessert or snack. Try this Chai Coffee recipe or a comforting mug of Warm Almond Milk.
- Package small brownie squares in cute boxes or bags to give as homemade gifts for special occasions.
FAQS
These Gluten-free brownies may have a slightly different texture, but they are just as delicious as regular brownies. This recipe is fudgy with chewy edges just like the classic version.
Most pure cocoa powder is naturally gluten-free. However, it’s essential to check the label on cocoa products for any potential cross-contamination or added gluten-containing ingredients.
Storage tips
Store in an airtight container or wrapped in plastic wrap in the refrigerator for up to a week or in the freezer in a freezer bag for up to 2 months.
More gluten-free recipes
**This recipe was originally posted on June 1, 2021, and updated on December 13, 2021, and again on October 22, 2023, with recipe notes, writing, and photos.**
If you’ve tried a pan of these Gluten Free Chocolate Brownies, please rate the recipe and let us know how it turned out by leaving us a comment below. We’re always interested in feedback!
Be sure to follow us on social media! We love pinning to Pinterest, sharing on Facebook, and posting pics on Instagram. See you there. 🙂
As an Amazon Associate, I earn from qualifying purchases.
Want to Save This Recipe?
Just enter your email and get it sent to your inbox! Plus you’ll get new recipes from us every week.
By submitting this form, you consent to receive emails from The Honour System
Gluten Free Brownies – Moist, chewy, and fudgy!
Ingredients
- 1 cup almond flour
- 1 cup coconut sugar
- ⅓ cup cocoa powder
- 2 large eggs *room temperature
- 3 tbsp melted coconut oil
- 1 tsp vanilla
- ½ tsp baking soda
- ¼ tsp fine sea salt
- ½ cup chopped walnuts *reserve half for sprinkling on top
Instructions
- Heat your oven to 350°. Lightly spray or oil a 9 x 9 baking dish and line it with parchment paper – the oil will help the paper from sliding around.
- In a large mixing bowl add all of the ingredients – except for half of the walnuts reserved for the top – and combine. Stir the batter well so there are no clumps or lumps. The batter will be thick.
- Using a spatula, spread the batter into the prepared baking dish. As noted above, the batter will be thick so you will need to spread in evenly into the corners. Sprinkle the top with the reserved walnuts.
- Bake for 25-30 minutes until the edges look dry. Cool for at least an hour before slicing.
Video
Notes
Storage tips
- Store in an airtight container or wrapped in plastic wrap in the refrigerator for up to a week or in the freezer in a freezer bag for up to 2 months.



Whipped up a batch of these this afternoon and it was exactly what I needed to cure my sweet tooth! Perfectly delicious and without gluten; loved every bite!
This comment is really making me want a batch too! 😉 Thanks, Sara!
Wow! These gluten-free brownies are truly bursting with chocolate deliciousness! It truly looks fudgy and yummy!
These are a hit in my gluten free household! Thanks so much!
Woot woot! Thanks Holley 🙂
I love it when gluten free recipes taste just like the traditional version, and these brownies taste just like regular brownies! I made them for my daughter and her friends and no one could tell they were gluten free, and they devoured them!
We devour these too! Thanks so much Anjali 🙂
I made these for my daughter’s birthday. She is celiac and these worked out perfectly! Thank you so much.
How awesome! Happy birthday to her 🙂 xoxo
These brownies sounds so amazing and i love that they are GF! You always make me drool with your baking!! So can I give you a tupperware to take to go?
Yes!! Please do, otherwise, we eat them all. 😉
These look super fudgy and I love the walnut chunks too. This is my kind of brownie…and I have so much almond flour as I bought a bag from Costco. Great way to use it up!
I actually call these the ‘Costco special’. lol I get basically everything except the eggs from Costco for this recipe. 😉
Brownies are always a favourite in our house. I love the use of natural ingredients in your recipe!
Thanks Cindy!! I love trying to healthify things as much as possible 🙂
My daughter has a gluten sensitivity and I made these. We loved them I wouldn’t change a thing about the recipe. They were delicious.
That makes me so happy! Thanks, Amy. We truly love these too.
I just so happen to have all these ingredients on hand. It was fate to have a delicious treat this evening 😋
They’re probably gone now! lol Thanks Vanessa 🙂
I haven’t made brownies in FOREVER. These look absolutely perfect.
They are a MUST, my friend. I can’t stop making/eating them. haha