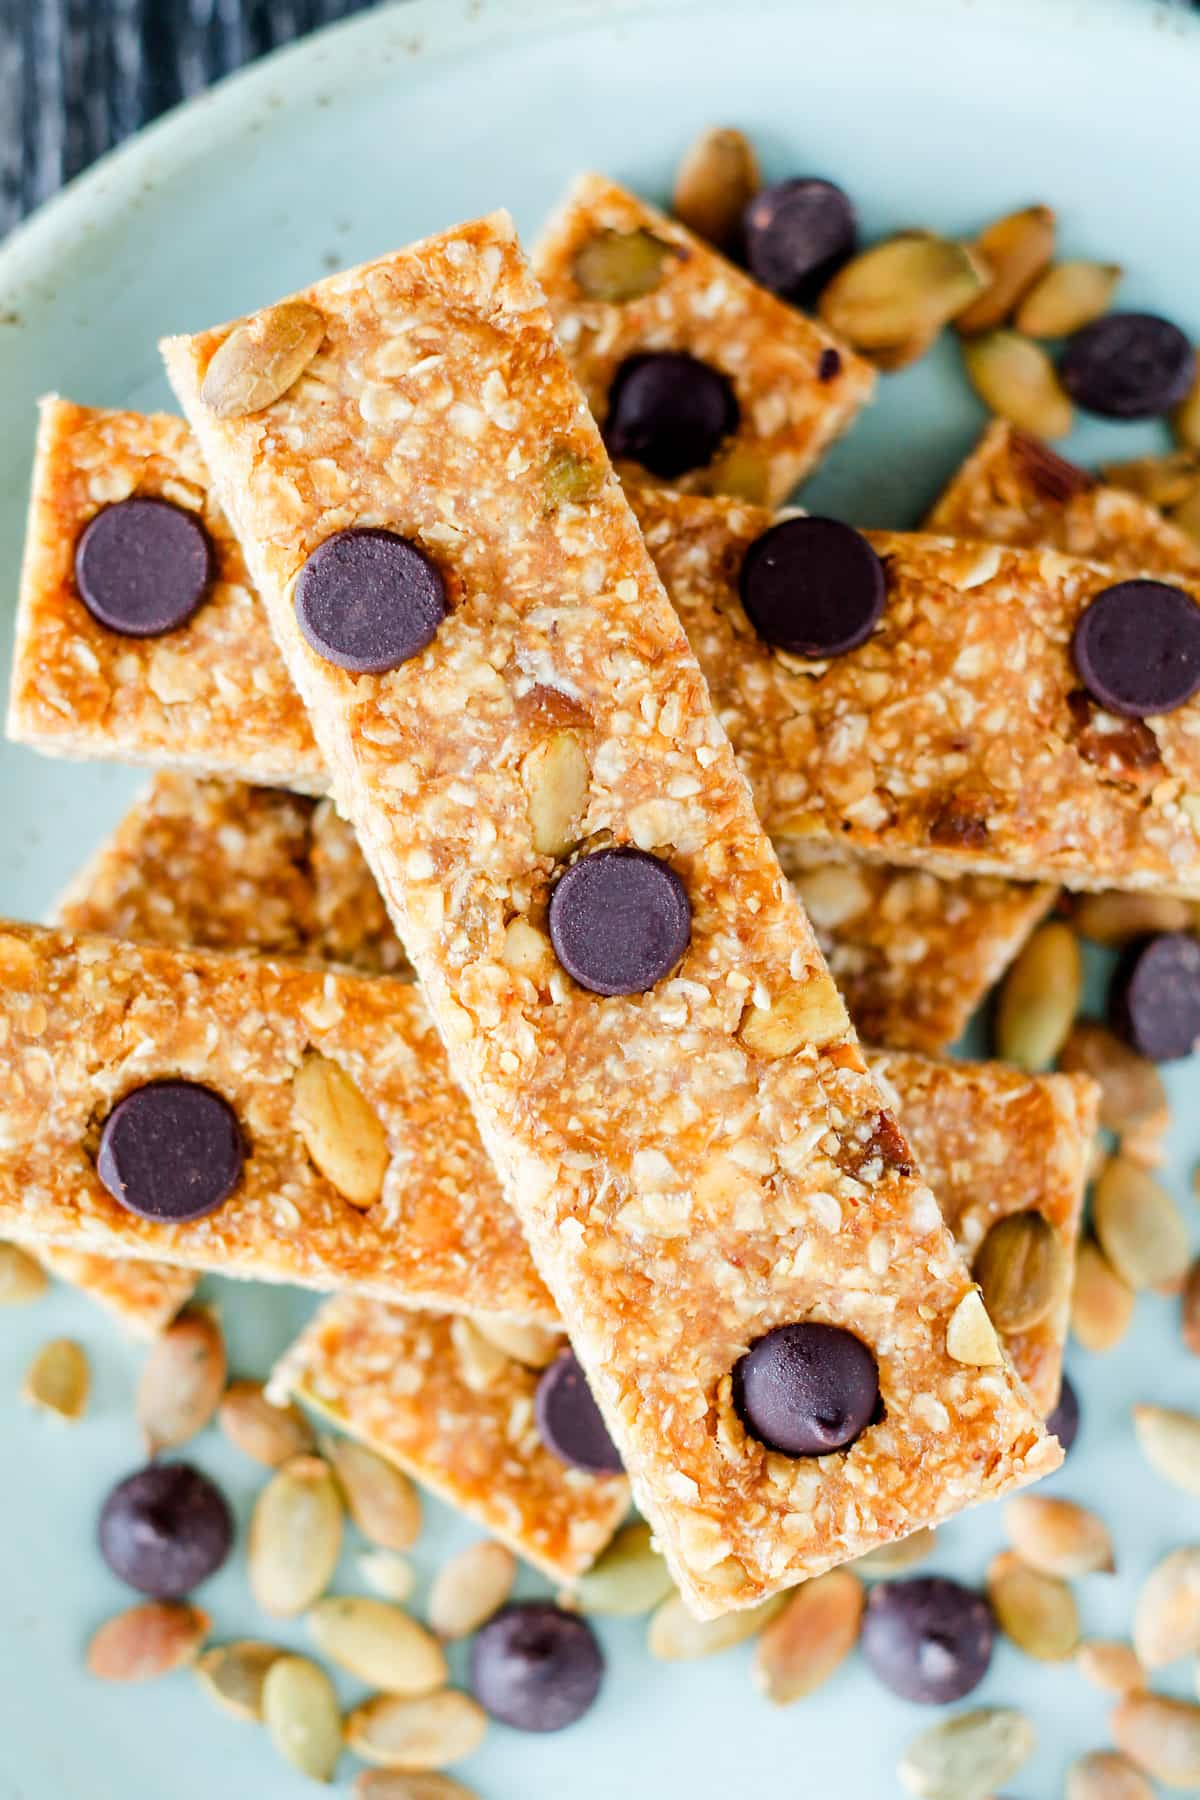
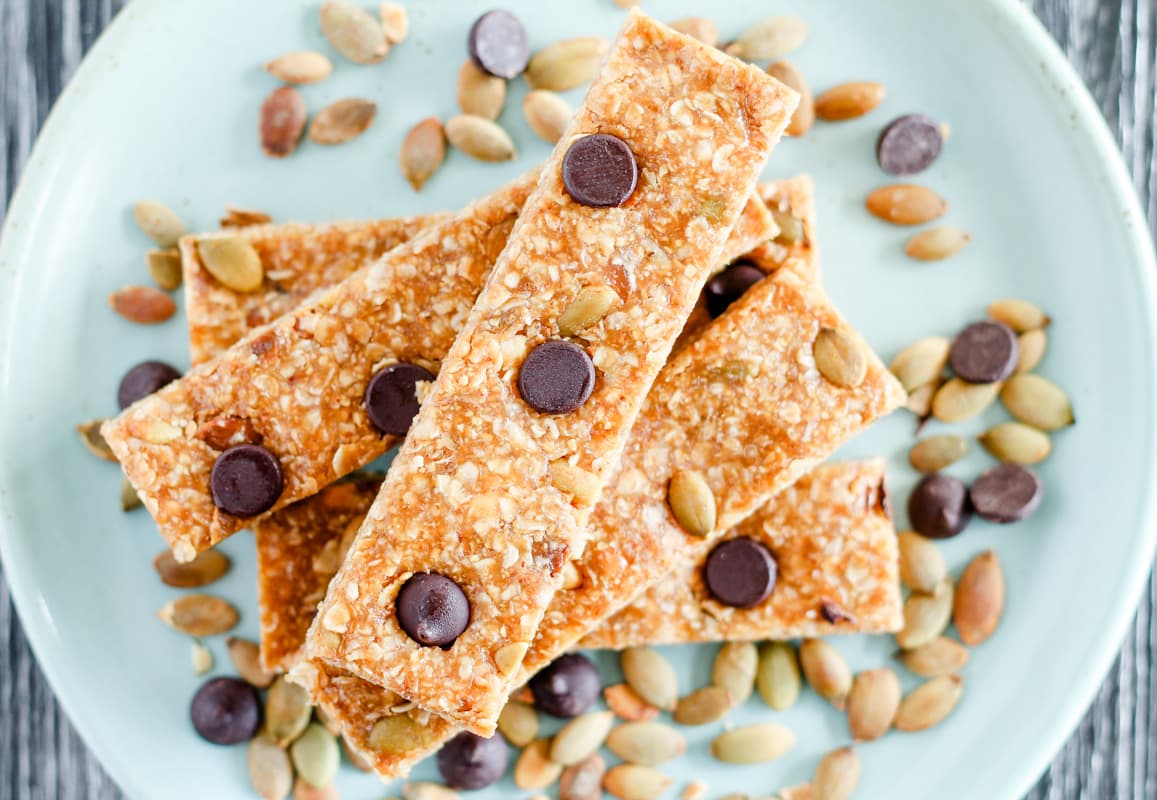
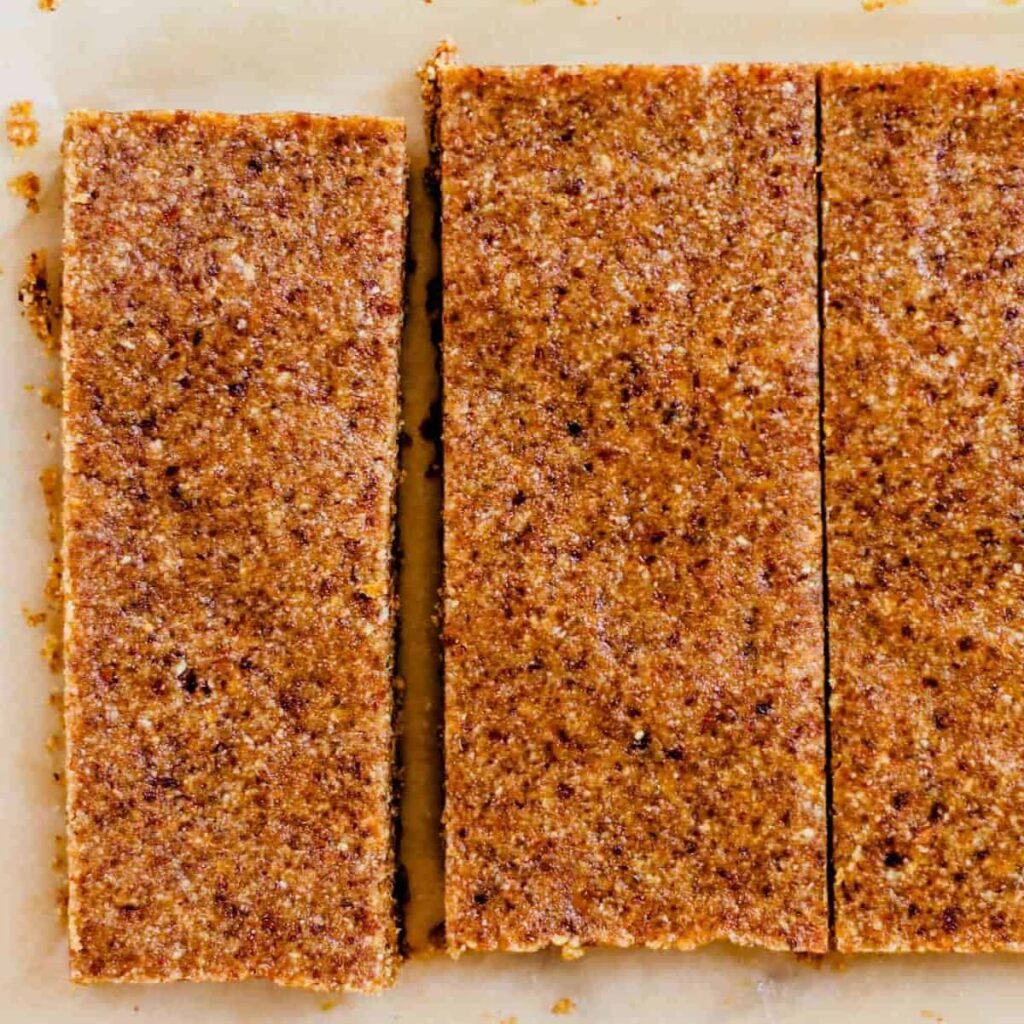
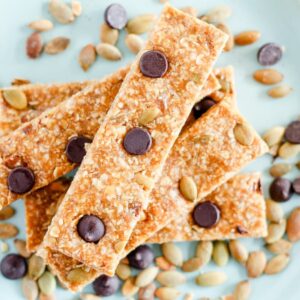
Chewy No Bake Energy Bars
This simple, nutritious recipe for No-Bake Energy Bars is a delicious homemade snack. They are super chewy and loaded with pumpkin seeds.
As an Amazon Associate, I earn from qualifying purchases.
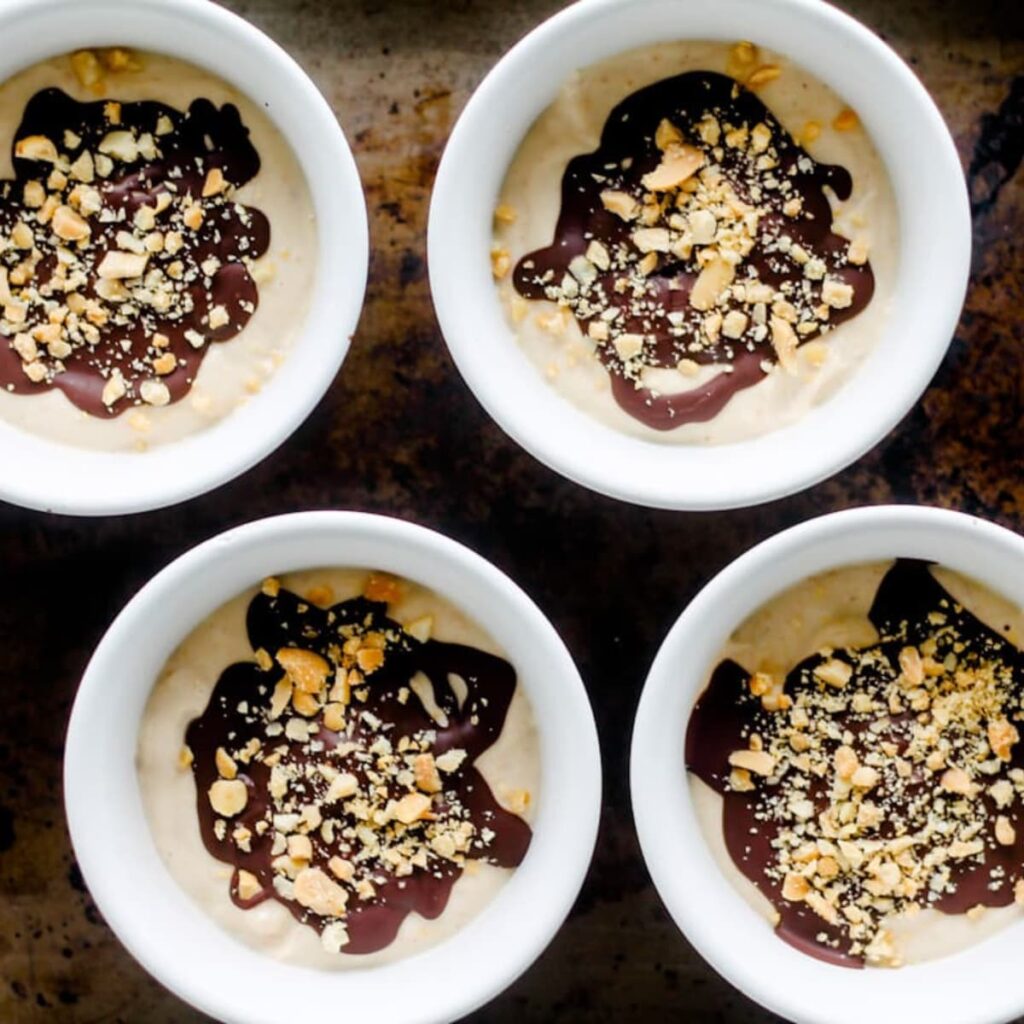
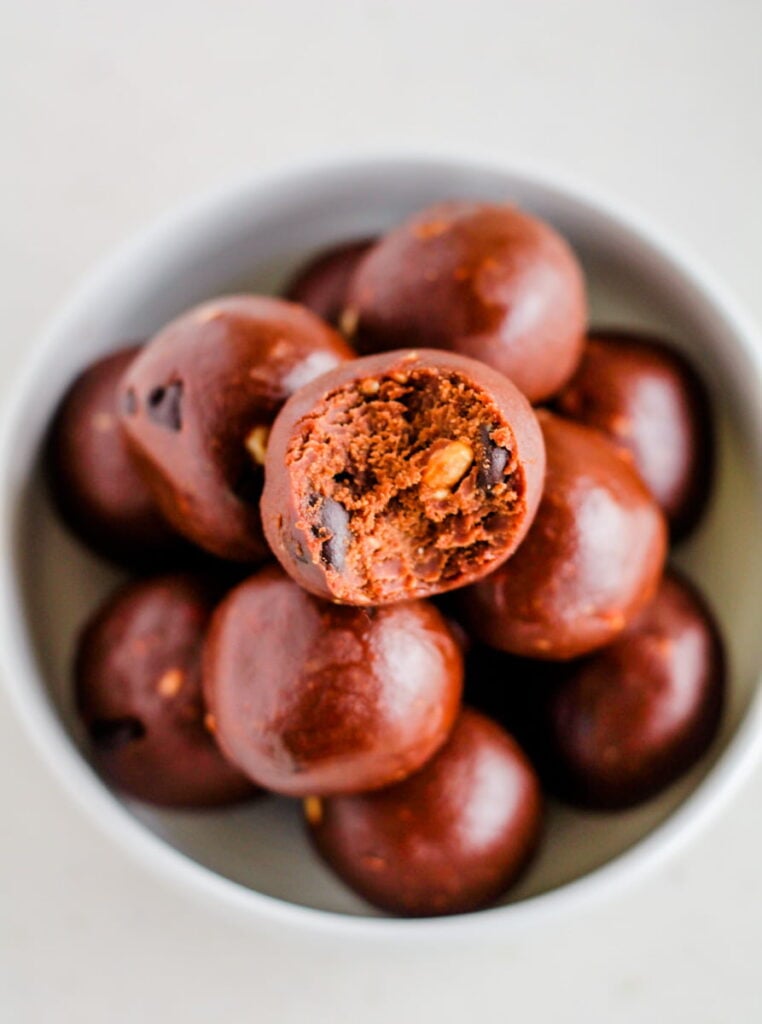
You can’t go wrong with simple snacks like this no bake energy bars recipe. Other no bake favorites include these yummy Chocolate Chia Balls or these Cookie Dough Protein Balls. Check out all of our wholesome Snack Recipes for more inspiration.
Why You Will Love This Recipe
- Unlike simple sugars found in many processed snacks, the complex carbohydrates in these DIY energy bars provide a steady release and prevent energy crashes throughout the day. They are worth every calorie.
- No special equipment like a food processor is needed. Just a small saucepan is all you need.
- This recipe is naturally gluten-free, dairy-free, and vegan. Bonus!
Ingredients
Find the complete ingredient list, with measurements, in the recipe card below.
- Quick Oats – Look for certified gluten-free marked on the package if allergies are a concern.
- Peanut Butter – We recommend using a natural peanut butter that lists only peanuts on the label. Check out our picks for the best healthy peanut butter brands.
- Maple Syrup – This is a yummy natural sweetener that helps hold the bars together.
- Vanilla Extract – Adds that homey, classic taste.
- Ground Flaxseed – This adds fiber and also helps with the chewy factor of these bars.
- Pumpkin Seeds – For crunch and a bit of plant protein. Use either raw or roasted pepitas.
- Dark Chocolate Chips – We like using dark chocolate to reduce sugar.
- Salt – A pinch of fine sea salt really brings out the flavor of your ingredients.

- Made from non-GMO, organically grown oats.
- The oats are sprouted using a unique process that enhances their nutritional value and makes them easier to digest.
Equipment
- Saucepan – In this recipe, the saucepan serves double duty as a melting vessel for the peanut butter and syrup and a stirring vessel instead of a mixing bowl.
- Baking Dish – Use either a 9 or 8-inch baking dish.
- Spatula – This is used to stir and press the mixture into the dish.
- Parchment Paper – A must for easy cleanup. We recommend using unbleached parchment paper.

- Free of PTFE, PFOA, PFAS, lead, cadmium, and other toxic materials.
- Whether it’s a gift or for your own use, it is the perfect addition to any cook's arsenal of tools.
Instructions
Scroll to the recipe card at the bottom for the FULL recipe details.
Step 1
First, start by lining the baking dish with parchment. Set that aside.
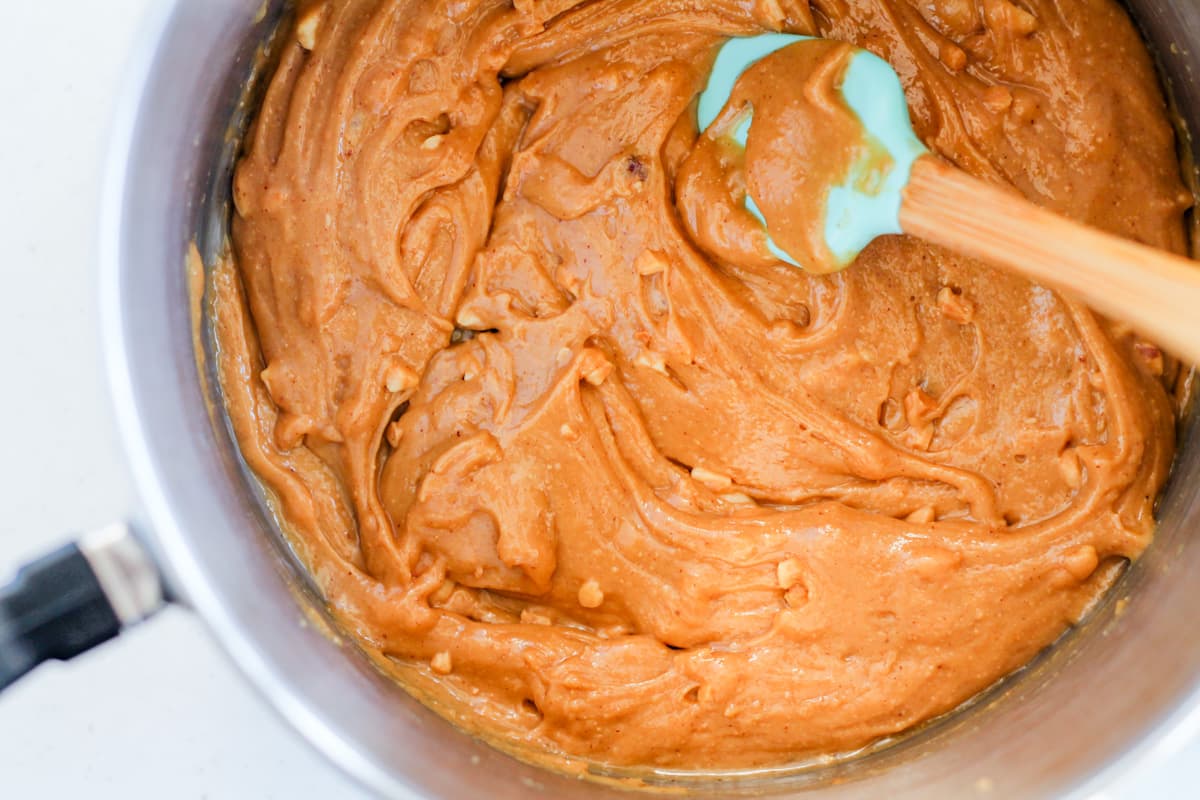
Then, melt the peanut butter and maple syrup together in the small saucepan and stir until smooth and slightly bubbling.
Step 2
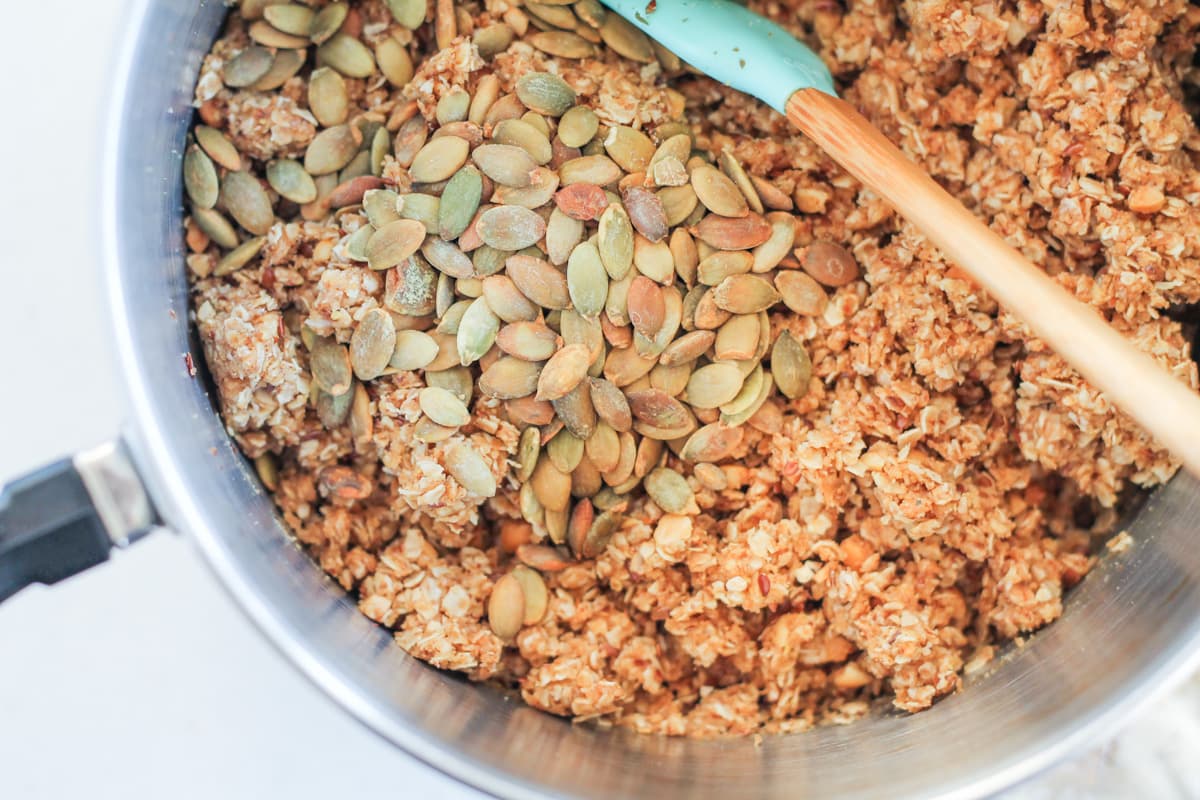
Next, pour in the oats and ground flax and give it a good stir.
We like just mixing it right in the saucepan to save on dishes. 😉
Step 3
Next comes the pumpkin seeds! For these photos, I used roasted pumpkin seeds because that is what I had in the cupboard, but in my experience, raw pumpkin seeds work fine too.
This recipe will take a bit of arm strength to stir! Don’t you love a good arm workout while you cook?
Step 4
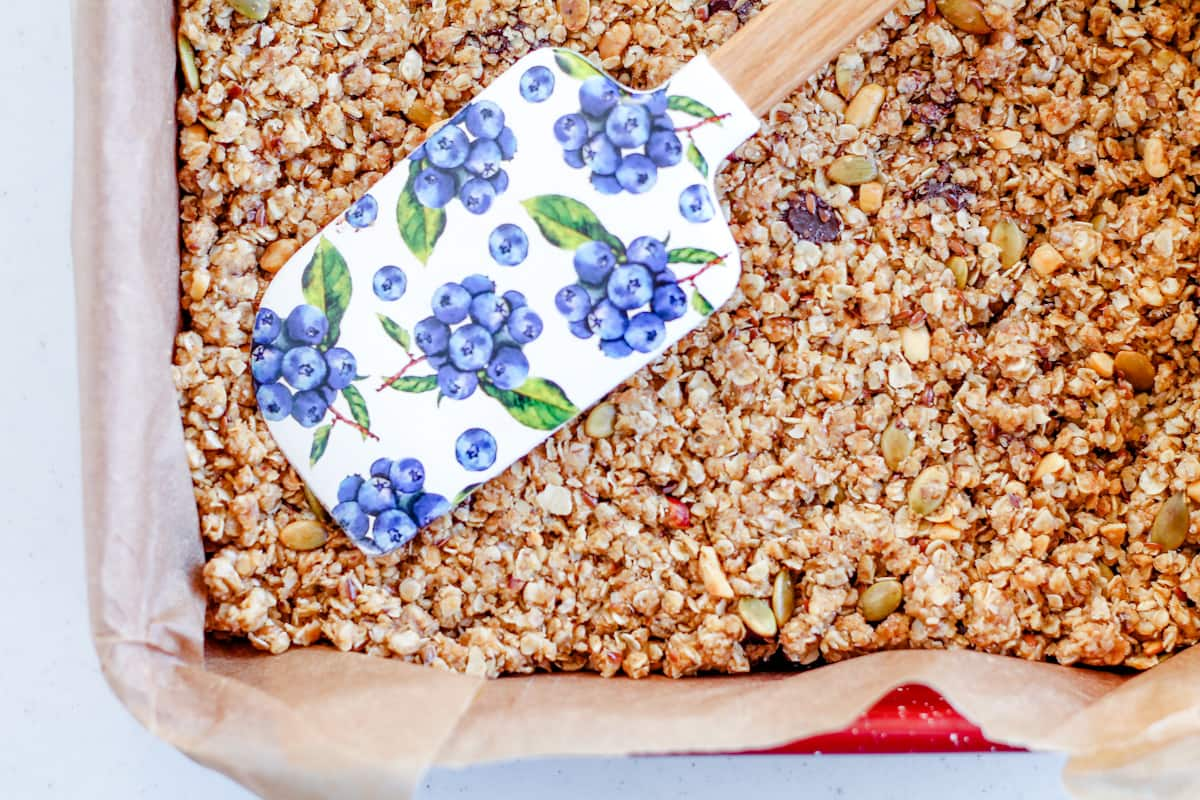
Then, after the mixing is complete, dump the mixture into the middle of the prepared baking dish. Sprinkle the chocolate chips over the top and then flatten the mixture evenly, pressing it into the corners.
Expert Tip!
Use a spatula to spread out the mixture evenly and press it down firmly. We found in our experience, this will prevent these no-bake bars from crumbling and ensure they hold together well.
Step 5
Finally, pop the dish into the fridge to set. This takes about thirty minutes.
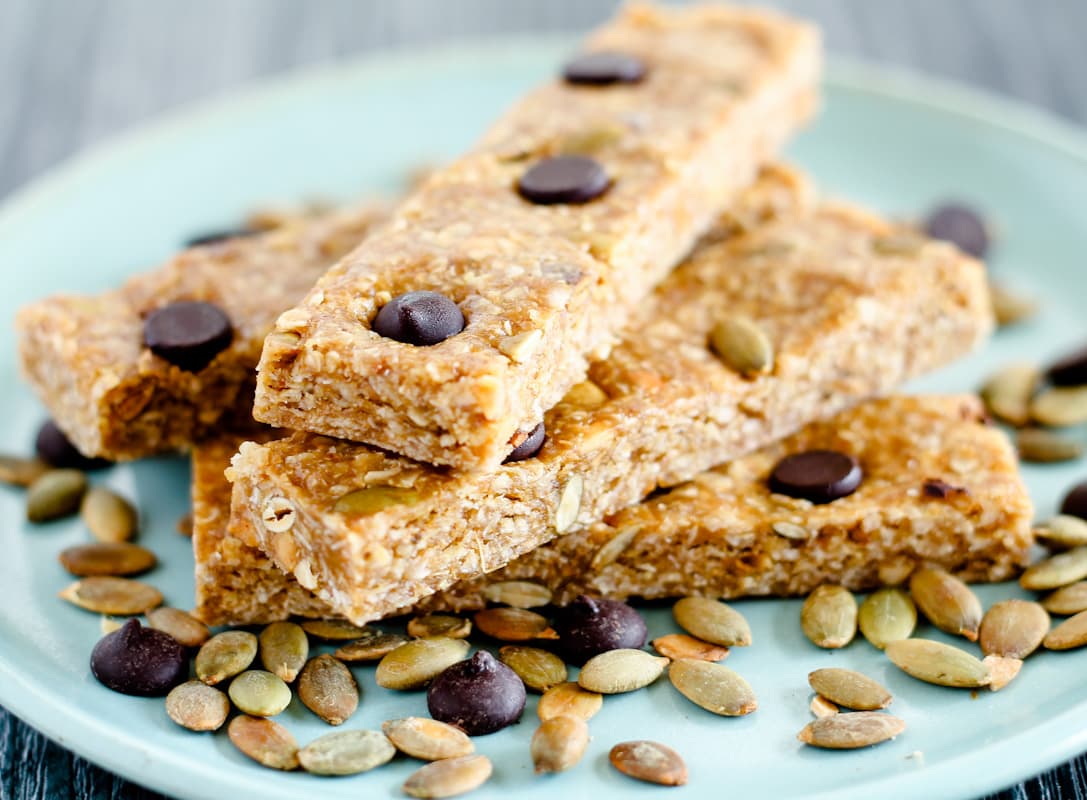
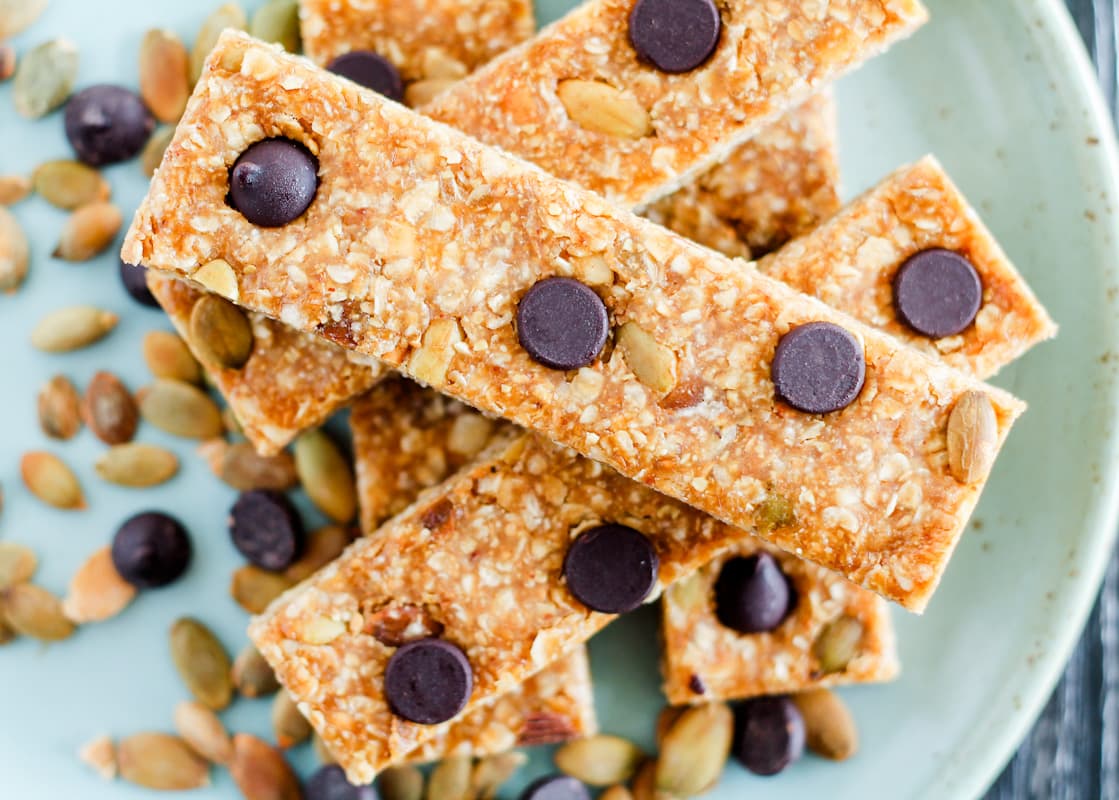
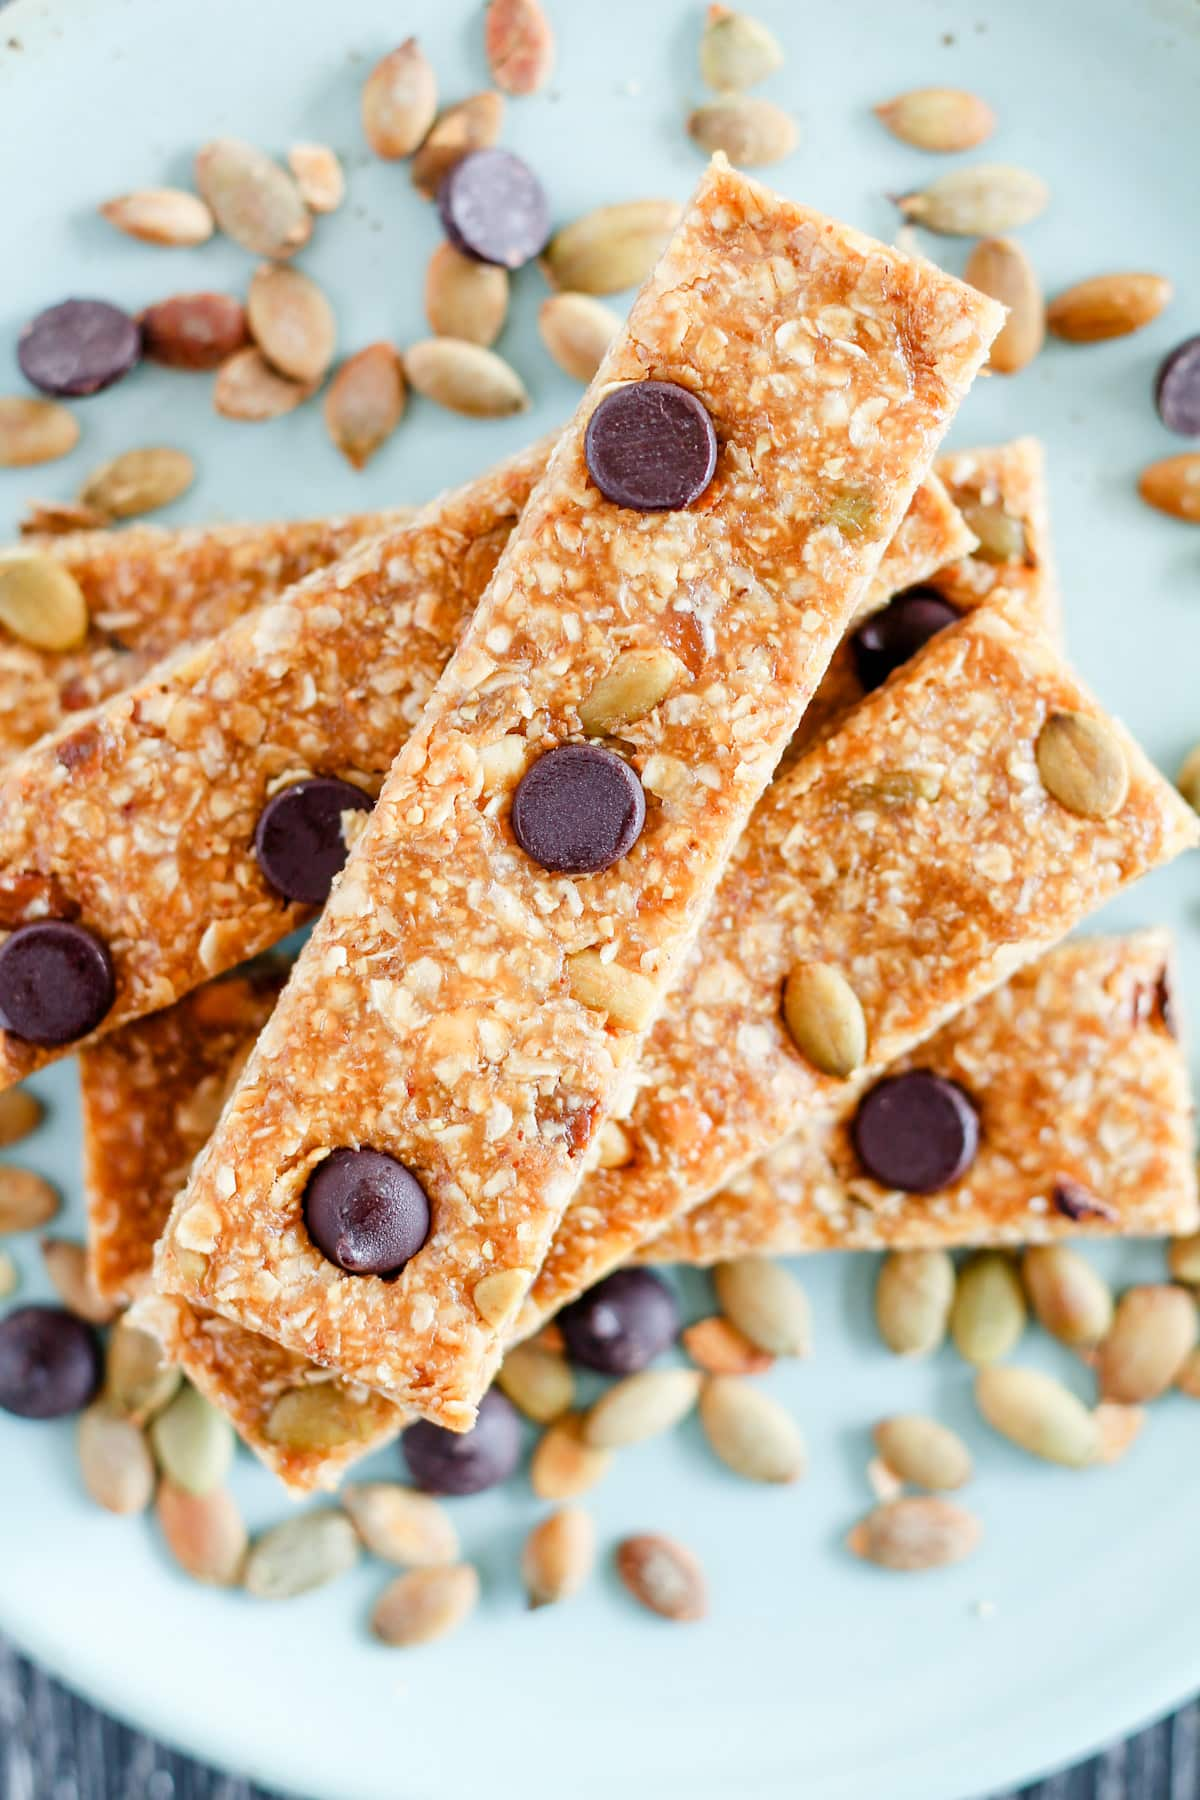
Once firm, slice into bars or squares.
Substitutions
- Any nut butter will work in this recipe, such as almond butter, cashew butter, or pecan butter.
- Honey or brown rice syrup can both be used instead of maple syrup as a natural sweetener.
Recipe Variations
- Looking for a nut-free version? Check out these Sunbutter Energy Bars made with sunflower seed butter.
- For an added boost of antioxidants, sprinkle two tablespoons chia seeds along with the pumpkin seeds.
- Give this recipe some warmth by adding a sprinkle of cinnamon.
- Add some protein powder for a longer energy boost. We recommend Ora So Lean So Clean.
- Try these chewy einkorn granola bars for a delicious snack featuring an ancient grain that is so nutritious and gives them such a soft texture.
Serving Suggestions
- Enjoy these no-bake power bars before or after your workout to replenish energy and provide essential nutrients.
- Pair them with a piece of fruit or yogurt for a balanced breakfast when you’re in a rush.
- Enjoy them as a coffee break snack! Serve these bars up alongside a cup of bulletproof coffee or chai coffee for a satisfying, wholesome treat.
FAQS
Press it in well! The harder it gets packed, the better the bars will stick together and not crumble. This is key for no-bake treats.
If you want to take it with you on the road, a good way is to wrap it in foil. Foil wraps nicely around the bars to keep them from crumbling. You can also use Saran Wrap or a Ziploc bag. Remember, though, that these bars will get quite soft at room temperature, so they are the BEST straight out of the fridge.
Storage Tips
To Store: These homemade energy bars can be stored in an airtight container in the fridge for up to 2 weeks. They tend to get soft at room temperature, so be sure to keep them refrigerated.
To Freeze: Wrap each bar individually in plastic wrap or parchment paper. Transfer the individually wrapped bars to a freezer-safe bag or container. Store the bars in the freezer for up to 3 months.
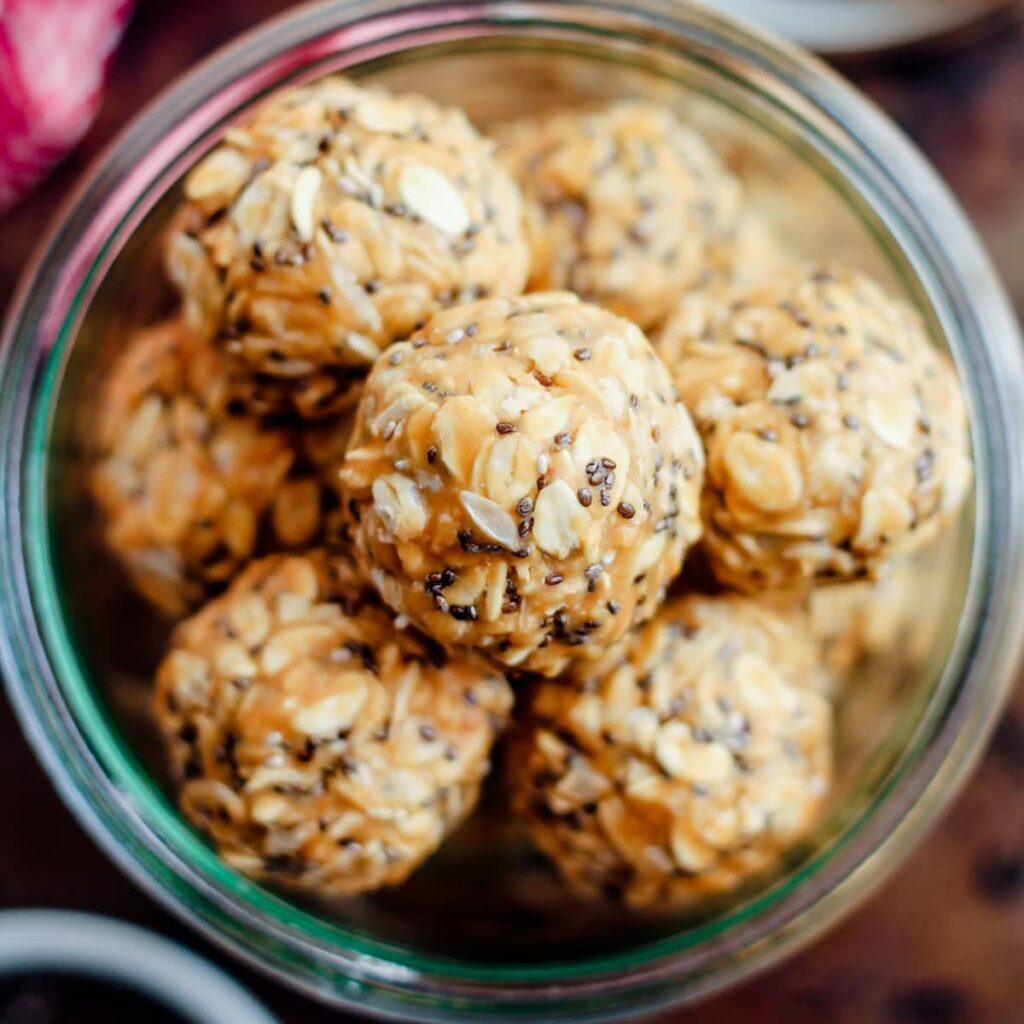
More No Bake Recipes
**This recipe was originally posted on November 10, 2020. Updated on April 14, 2024, with recipe notes, writing, and photos.**
If you’ve tried this no bake energy bites recipe, please rate it and let us know how it turned out by leaving a comment below. We’re always interested in feedback!
Be sure to follow me on social media! We love pinning to Pinterest, sharing on Facebook, and posting pics to Instagram. See you there. 🙂
As an Amazon Associate, I earn from qualifying purchases.
Want to Save This Recipe?
Just enter your email and get it sent to your inbox! Plus you’ll get new recipes from us every week.
By submitting this form, you consent to receive emails from The Honour System
No Bake Energy Bars
Ingredients
- ¾ cup natural peanut butter
- ½ cup maple syrup
- ½ tsp vanilla
- 2 ¼ cups quick oats **use gluten free oats for allergies if needed**
- ¼ tsp sea salt
- ¼ cup ground flax
- ¼ cup pumpkin seeds
- ¼ cup dark chocolate chips
Instructions
- Line a 9 x 9 pan with parchment paper and set aside.
- In a medium sauce pan over medium low heat, melt together the peanut butter and maple syrup. Stir until it is smooth and well combined, about 5 minutes.
- Remove from heat and stir in the vanilla and salt.
- Add in the oats, 1/2 cup at a time, stir well, and then stir in the ground flax and pumpkin seeds (save a tablespoon of pumpkin seeds to press into the top for a pretty bar!). The mixture will be thick and takes a bit of effort to really combine it well.
- Dump the mixture into the center of the prepared pan, and, using a spatula, flatten it out and press it down really well. Press it in really hard to help the bars really hold together well.
- Sprinkle the chocolate chips and the reserved pumpkin seeds on top and using your finger, press them down.
- Place the dish in the fridge for 30-45 minutes to set. Once firm, slice into bars or squares.
I love pumpkin seeds, too. My son was in Slovenia recently, and brought back a large bottle of pumpkin seed oil, which is used often by Slovenian and Austrian cooks and bakers. It adds another zing of protein to cooked and baked items.
Mmmmm! That sounds heavenly. I love foodie souvenirs like that.
These are going to be my go to snack for the New Year. Thanks for sharing. I love that you added pumpkin seeds.
Just what I need for a healthy Veganuary. Love this recipe, which is really a super healthy flapjack, as we call them in the UK. Love the pumpkin seeds and just a few chocolate chips for a feel good factor.
My mom always made flapjacks. 🙂 She was originally from England. xo Happy new year!
We made these energy bars yesterday and we all loved them including the kids, which was great as they are always really fussy, the pumpkin seeds just gave it that great crunchy texture 🙂
Great recipe, highly recommend, thanks for sharing !!
Awesome! Thanks Luke. I agree about the great crunch from the pumpkin seeds!